I’m Waseem – your neighborhood appliance doctor with a knack for solving pesky ice maker troubles. Today we tackle the frustrating issue of an Ice Maker Auger Motor Not Turning.
You know, that little workhorse that pushes the ice out so you can chill your lemonade on a hot summer day? When it takes a break, it leaves your glass empty and your thirst unquenched.
Through my years of appliance therapy, I’ve seen everything from stuck ice to motor failure stop this auger motor in its tracks.
The issue isn’t always a broken part – it’s often a cry for TLC from an overworked ice maker. And goodness knows, even the most reliable ice maker needs some love now and then amid our busy lives.
Key Takeaways
- Common Symptoms: Silence during dispensing, motor sounds without ice, clumped ice blocking the auger, faint/no motor hum.
- Essential Tools: Multimeter, screwdrivers, flashlight, gloves, insulation tape.
- Maintenance Tips: Regular cleaning, checking temperatures, avoiding overpacking, and inspecting parts.
- Prevention: Keep the ice maker clean, maintain proper temperature, allow air circulation, inspect regularly, and address hard water issues.
- DIY vs. Professional Repair: DIY is cost-effective but riskier; professionals offer expertise and warranties but at a higher cost.
Symptoms of a Malfunctioning Auger Motor
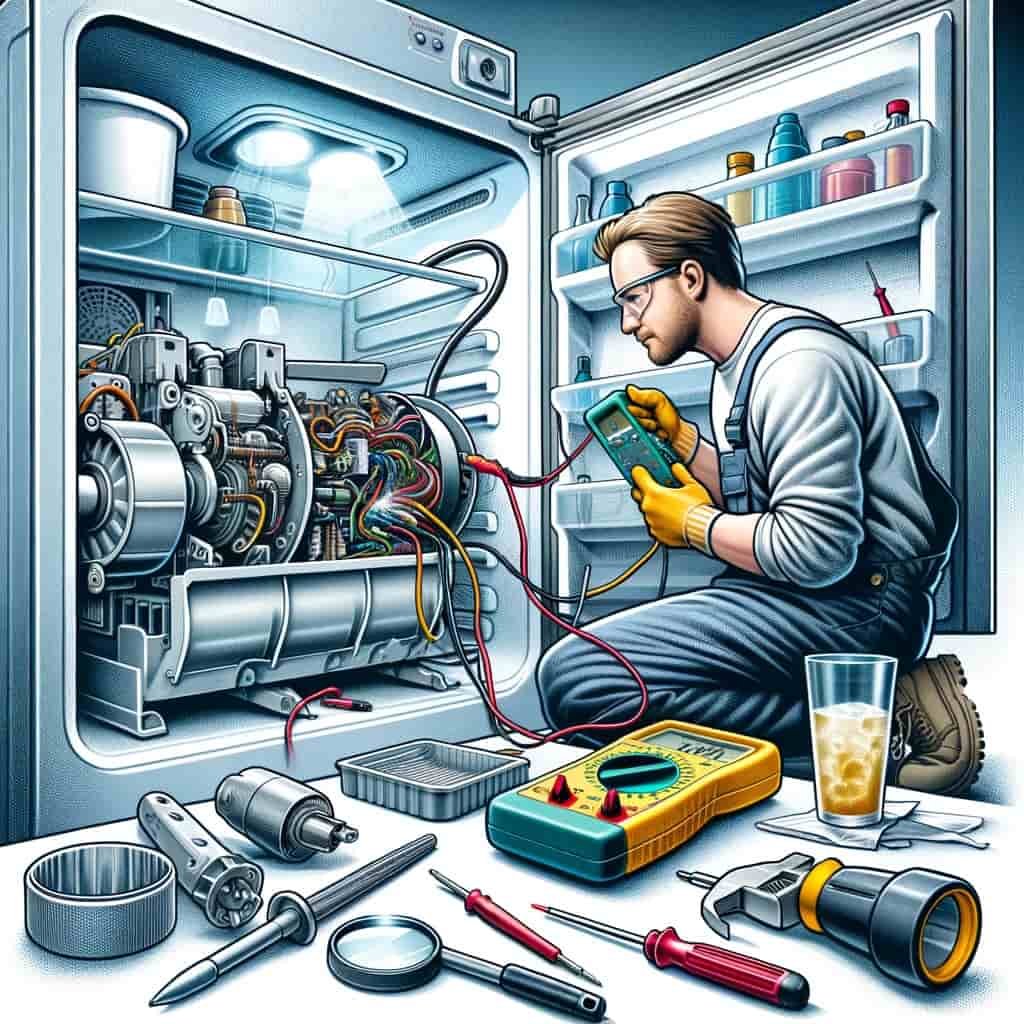
Have you ever reached for a cold drink, only to find your ice maker giving you the cold shoulder instead of ice? It’s frustrating, right? If your ice maker auger not turning, it could be due to a few different issues.
Well, I’m here to help you decipher the silent signals your ice maker might be sending.
The culprit often is a malfunctioning auger motor, a key player in the ice-dispensing process. Let’s dive into the tell-tale signs that your auger motor might be on the fritz.
No Sound or Movement When Dispensing
First off, if you press the ice dispenser and are met with silence, this is your first clue. A healthy ice maker hums and buzzes as the auger motor springs to life, turning and pushing ice forward. No sound often means no movement, signalling a potential auger motor failure.
Ice Fails to Dispense Despite Motor Sound
Another glaring sign is when you hear the motor, but ice refuses to come out. It’s like expecting a guest who never shows. This could mean the auger is unable to turn due to a jam or, worse, a burnt-out motor.
Clumped Ice Preventing Auger Turning
Sometimes, the issue isn’t with the motor itself but with what it’s trying to push. If your ice clumps together, it can prevent the auger from turning, acting like a roadblock. While this points more towards a need for maintenance, it’s a symptom worth noting.
Faint or No Motor Hum on Dispensing
Motors typically make noise, even when working correctly. If you press the dispenser and hear a faint hum or nothing at all, it suggests the motor isn’t engaging. It’s like whispering in a bustling room – if there’s no clear response, something’s amiss.
Tools and Materials Needed for Troubleshooting
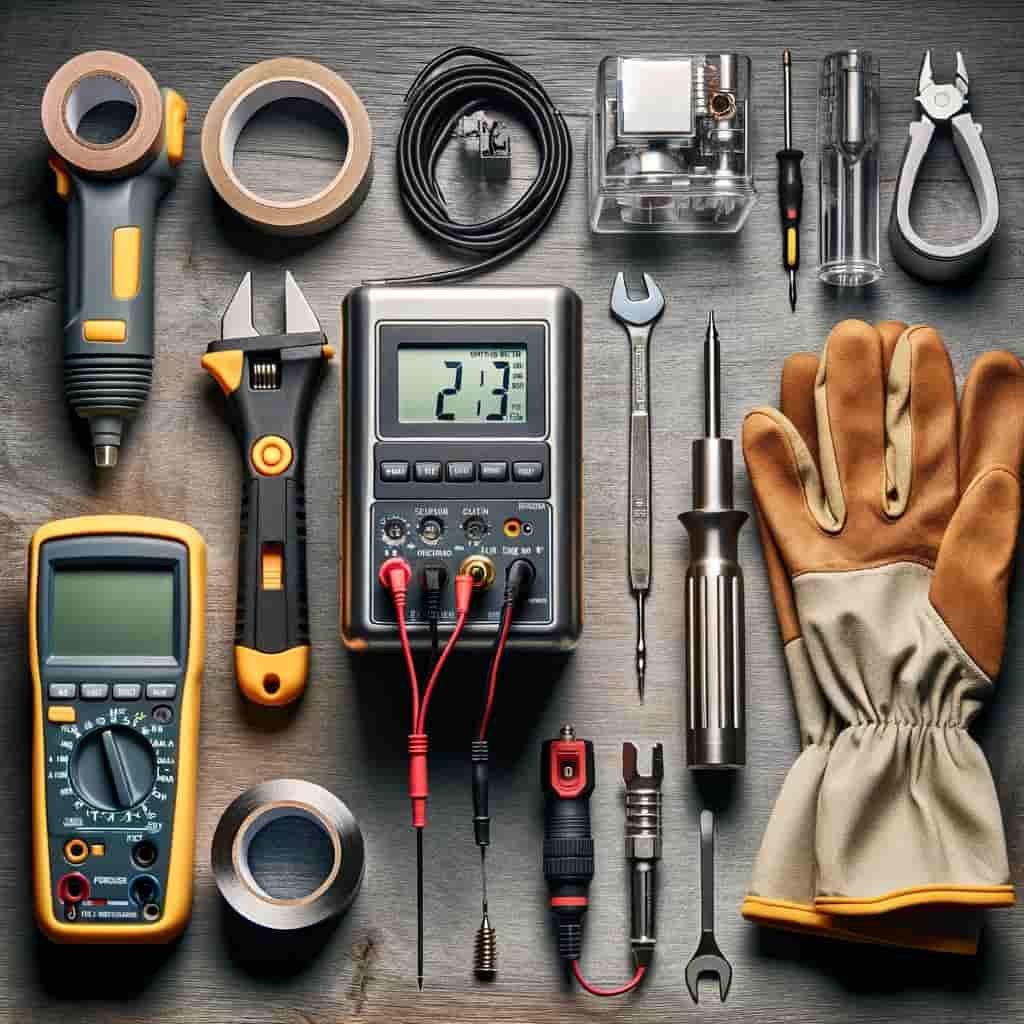
Hey there! Before we dive into the nitty-gritty of getting your ice maker back in action, let’s talk about the tools and materials you’ll need. It’s like gathering your armour and weapons before heading into battle.
Trust me, having these at your disposal will make you feel like a DIY superhero ready to tackle the “ice maker auger motor not turning” issue head-on.
Essential Tools List
Multimeter: Your best friend for diagnosing electrical problems. It tells you if your auger motor is getting the power it needs or if it’s time to say goodbye and get a new one.
Nut drivers and Screwdrivers: These are your trusty swords. You’ll need them to unscrew panels and get to the heart of the ice maker.
Flashlight: Essential for shining a light on those hard-to-see places. It’s like your guiding light in the dark corners of your appliance.
Gloves: Safety first! Protect your hands from sharp edges and electrical components.
Insulation Tape: For any temporary fixes on wiring or to mark certain wires. Think of it as your first aid kit for electrical injuries.
Materials for the Job
Replacement Parts: Depending on the diagnosis, you might need a new auger motor or other components. It’s like having spare parts for your armour.
Cleaning Supplies: A soft cloth and mild detergent can work wonders. Keeping your ice maker clean is akin to maintaining your sword; it ensures optimal performance.
Detailed Guide on Ice Maker Auger Motor Not Turning
Step 1: Perform a Visual Inspection
Importance: Visually inspecting the ice maker and auger motor is an essential first step in diagnosing issues. This allows you to identify any obvious problems or blockages preventing the motor from turning.
Guidelines:
- Carefully examine the ice maker assembly and ice bin for signs of ice buildup, clumping, or other blockages around the auger motor and blade. Remove any debris.
- Check that the ice bin is properly installed and aligned with the auger motor and blade. Misalignment can jam the motor.
- Inspect the exterior of the auger motor for damage or cracks.
Step 2: Check for Power Supply
Verify Power: Use a multimeter or voltage tester to check that the auger motor is receiving the proper electric voltage from the power supply.
Safety First: Use caution when testing electrical components. First, turn off the power to the ice maker and follow appliance manufacturer safety guidelines.
Step 3: Testing the Motor with a Multimeter
Multimeter Testing: Follow instructions to connect a multimeter to the motor power contacts and switch on the ice maker. The multimeter display should show a steady voltage reading if the motor is receiving power.
Interpreting Reads: No voltage indicates a power supply issue. An unsteady power flow could mean a wiring, switch, or motor failure.
Step 4: Examining the Auger Motor Connections
Inspect Connections: Power interruptions are often caused by loose wiring connections. Check that the motor’s electrical couplings are clean, secured tightly, and undamaged. Faulty connections can increase resistance.
Check Wires: Examine the connecting wires for wear, exposed wire, damage, or burned/melted connections. Faulty wires unable to properly conduct electricity can cause motor failure.
Step 5: Inspecting the Drive Shaft and Coupling
Drive Train Issues: Problems with the motor drive shaft and coupling attachment can also prevent the auger blade from turning. signs of mechanical wear or damage. ensure parts align and freely rotate.
Step 6: Cleaning and Lubricating the Motor
Remove Debris: Use compressed air to clear dust, dirt, and debris from the motor casing and interior components. Buildup of foreign material can impede motor operation.
Lubricate: Apply plastic-safe lubricant to recommended interior lubrication points. This prevents corrosion and reduces friction.
Follow manufacturer lubrication guidelines.
Step 7: Checking the Control Module
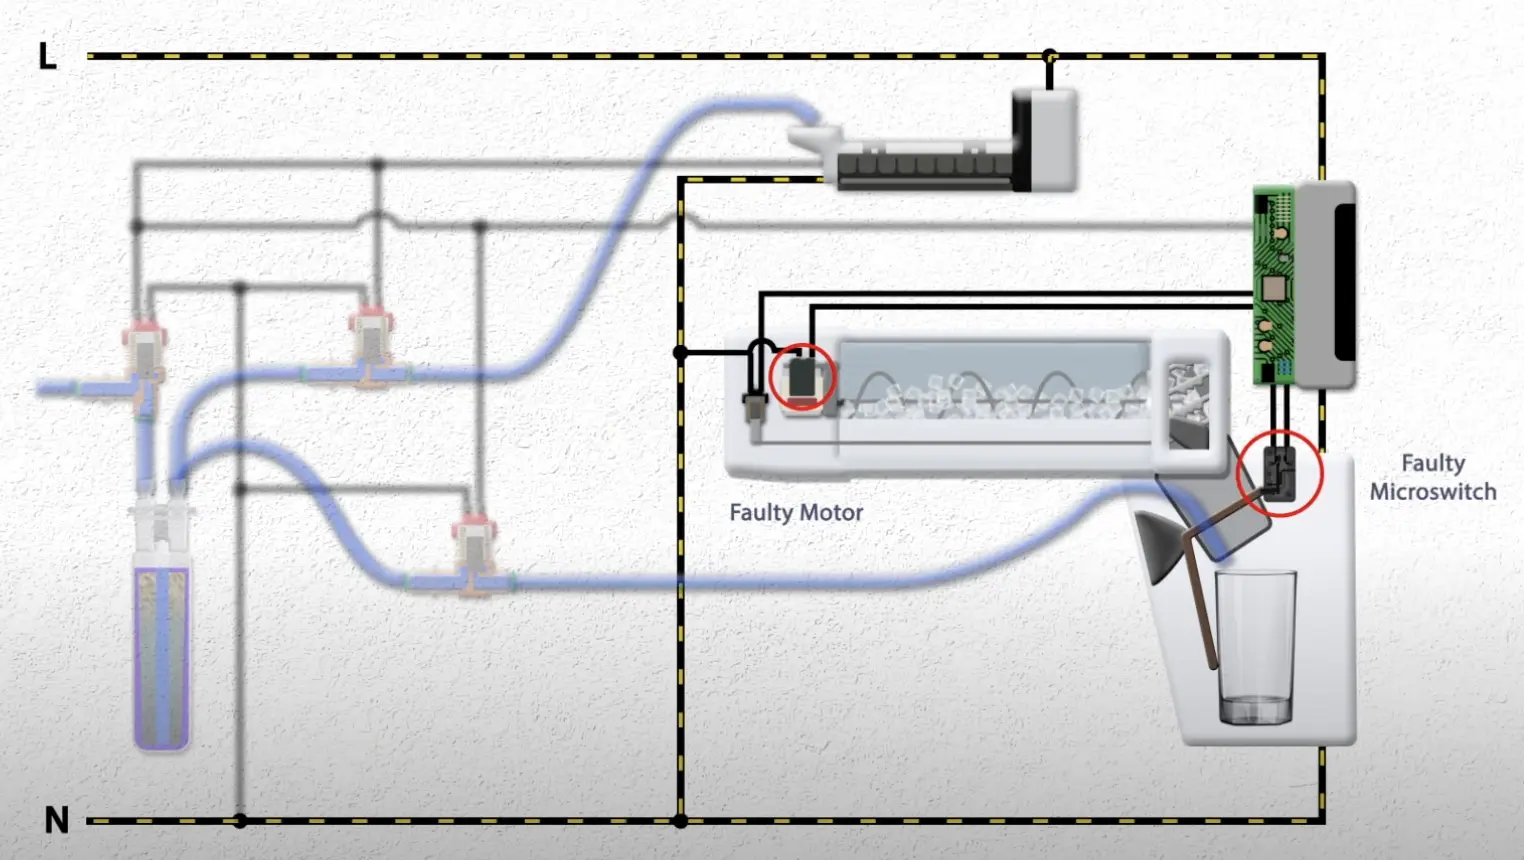
Module Communications: The control module regulates ice maker functions via sensor signals. sync issues between the module and motor can prevent blade rotation.
Control Diagnostics: Consult the appliance troubleshooting manual on the testing module. replace if necessary.
Step 8: Assessing the Ice Maker Blades
Blade Inspection: Examine ice maker blades for damage cracks, warping, blockages, or misalignments causing jams/friction with housing to prevent motor turnover.
Step 9: Replacing the Auger Motor
If troubleshooting steps do not resolve cause of inoperable motor, replace auger motor assembly:
- Review installation guide for your appliance make and model
- Disconnect all electrical connections
- Detach all mountings and extract motor
- Install new motor, securely refasten all fittings
- Restore power and test for proper operation
Ensure Proper Replacement: Consult technicians if unsure to avoid appliance damage or safety issues.
Step 10: Other Possible Causes
Temperature/Sensor Issues: Malfunctioning cold control thermostat or failed optical ice level sensor can halt ice production and auger operation.
Stuck Ice Maker: Mechanical jam in ice maker assembly could potentially seize auger.
Importance of Regular Maintenance for the Auger Motor
Do you know how annoying it is when you’re craving a cold drink, and your ice maker decides to go on a hiatus? Often, the culprit behind this frustration is the ice dispenser auger not turning. But, guess what? You can prevent many of these issues with a little TLC.
Why Maintenance Matters
Regular maintenance does wonders for your auger motor. It’s like giving your car a regular oil change to keep it running smoothly.
By keeping up with maintenance, you’re not just ensuring you’ve got ice on demand; you’re also extending the lifespan of your ice maker.
Your Maintenance Roadmap
Let’s break down the maintenance process into simple, actionable steps. Trust me, it’s easier than assembling that furniture from IKEA.
1. Monthly Cleaning Routine
- Turn off the ice maker first. Safety always comes first!
- Remove any ice and water from the bin.
- Clean the inside with a mild detergent and warm water mix. Rinse thoroughly.
- Dry everything with a soft cloth.
2. Visual Inspection
- Every 3 months, check for any signs of wear or damage to the motor, blades, and connections.
- Look out for any ice buildup that could obstruct the auger’s movement.
3. Listen for Strange Noises
- When you’re near the ice maker, listen. Odd sounds can be the first hint of trouble ahead.
Pro Tips for Auger Motor Care
- Never ignore minor issues. A small problem today can turn into a big headache tomorrow.
- Schedule these maintenance steps in your calendar. It’s easy to forget, but setting a reminder helps a lot.
Prevention Tips for Avoiding Future Issues
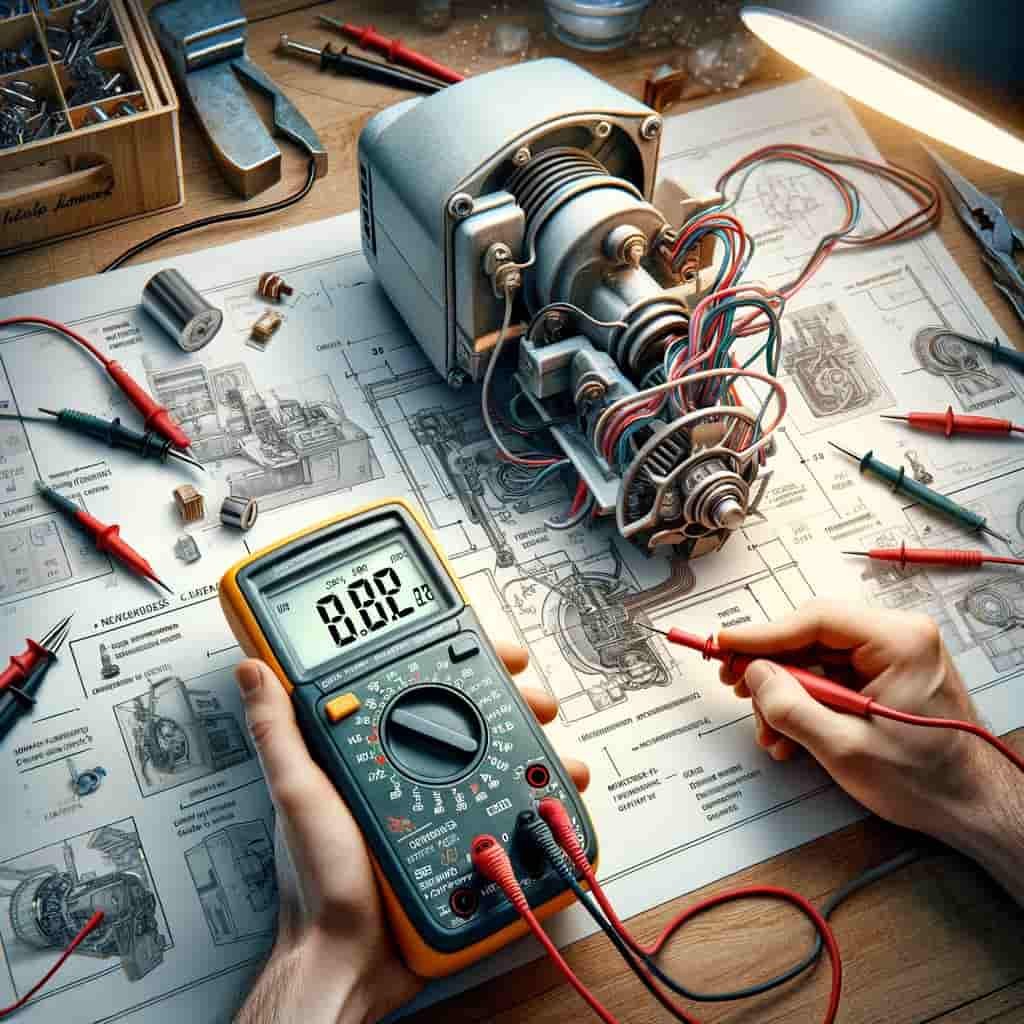
But, I’ve learned a few tricks along the way. So, here’s the lowdown on preventing those all-too-common auger motor issues.
Keep It Clean
First off, cleanliness is next to godliness, right? Regularly clean your ice bin and the ice maker itself. Ice buildup can jam the auger, and believe me, you don’t want that. Use a mild detergent and warm water for a sparkling clean ice maker. It’s a simple step, but it’s like a spa day for your ice maker!
Temperature Checks
Keep an eye on your freezer’s temperature. It should be set just right—not too cold, not too warm. Aim for 0°F (-18°C). If it’s too high, your ice maker sweats. Too low, and it’s an Arctic overkill. Both extremes stress your auger motor. A simple thermometer can keep you in check.
Give It Space
Ensure your freezer isn’t packed to the brim. Air needs to circulate freely around the ice maker. Overstuffing affects the freezer’s temperature and, in turn, your ice maker’s efficiency. Think of it as needing a little breathing room—don’t we all?
Regular Inspections
Make it a habit to inspect the auger motor and ice maker blades regularly. Look out for any signs of wear or damage. Catching issues early can save you a ton of trouble down the line. And trust me, it’s worth the five-minute check.
Avoid Hard Water Woes
If your area has hard water, it’s a nemesis for your ice maker. Mineral buildup can jam your system faster than you can say “auger motor.” Consider using a water filter or treating your water. Your ice maker will thank you with every crystal-clear ice cube.
Hiring a Professional vs. DIY Repair
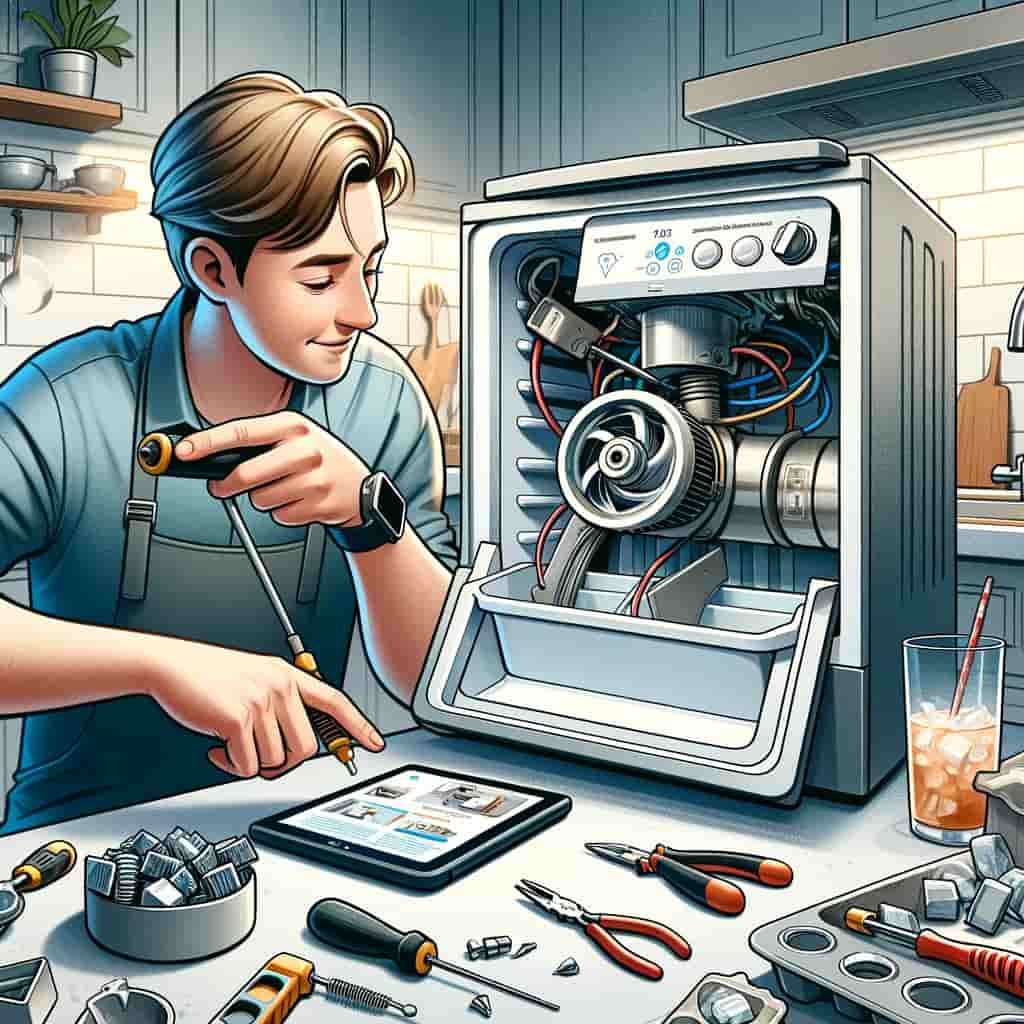
When you’re standing in front of your fridge, puzzled by the silent ice maker that used to churn out cubes with gusto, you’re faced with a fork in the road: dive into a DIY repair or call in the pros.
Let me walk you through the pros and cons, helping you make a choice that suits your skills, budget, and timeline.
The DIY Approach
Pros:
- Cost Savings: The most appealing aspect of DIY is saving money. You’re only out for the parts, not the labour.
- Learning Experience: Tackling the repair yourself is a fantastic way to learn more about how your appliances work.
- Immediate Action: No waiting around for a technician. You can start the moment you have the time (and courage).
Cons:
- Risk of Mistakes: Without the right know-how, you might misdiagnose the problem or cause more damage, leading to more costly repairs.
- Time-Consuming: What looks simple on a YouTube tutorial can become an all-day affair.
- Lack of Warranty: DIY repairs don’t come with a service guarantee. If the issue recurs, you’re back at square one.
Hiring a Professional
Pros:
- Expertise: Professionals have the experience to quickly diagnose and fix the issue.
- Warranty: Most repairs come with a service guarantee, giving you peace of mind.
- Time Efficiency: A pro can often fix the issue in a fraction of the time it would take you to figure out where to start.
Cons:
- Higher Cost: You’re not just paying for parts but also for the technician’s expertise and time.
- Scheduling: You’ll need to work around the technician’s schedule, which might not align with your immediate needs.
Factors to Consider
When deciding between DIY and professional repair, consider:
- Your Skill Level: Be honest about your mechanical aptitude and willingness to learn.
- The Complexity of the Repair: Some fixes are straightforward; others are a labyrinth of components and diagnostics.
- Your Time: Do you have the time to dedicate to researching, troubleshooting, and repairing?
Cost of Replacing an Ice Maker Auger Motor
Replacing an auger motor isn’t just about buying a new part; it’s about understanding the full scope of the costs involved.
DIY Costs
- Auger Motor Part: Expect to pay anywhere from $50 to $150 for a new motor.
- Tools: If you don’t have the necessary tools, add another $20 to $100 to your budget.
Professional Costs
- Labour: This can vary widely, but labour costs typically range from $100 to $250, depending on the complexity and duration of the repair.
- Parts: Professionals might charge a markup on the part, so anticipate spending 10% to 20% more than the retail price.
In both scenarios, consider the potential for additional issues to be uncovered during the repair process, which could add to the overall cost.
Conclusion
When my ice maker auger motor stopped turning, I dived deep into research to understand why. I discovered common culprits like blockages, electrical issues, and motor failure.
Along the way, I picked up a few troubleshooting tips that felt like secret hacks. Now, I want to share these insights with you, making your journey smoother than mine.
Let’s get your ice maker back in action, one step at a time.
FAQs
Why is my ice machine auger not turning?
The ice machine auger may not be turning due to a blockage in the ice bin, faulty auger motor, damaged drive components, or electrical issues with the control board or wiring.
How do you test an ice auger motor?
To test an ice auger motor, use a multimeter to check for continuity. Disconnect the motor from its power source, attach the multimeter probes to the motor terminals, and look for a reading that indicates the motor has continuity. No continuity suggests the motor may be faulty.
How do I know if my ice maker motor is bad?
Signs of a bad ice maker motor include the ice maker not making ice, making unusual noises, or the auger not turning when activated. Testing the motor with a multimeter for continuity can confirm if it’s faulty.
Why is my ice machine not spinning?
Your ice machine may not be spinning due to a seized auger motor, broken drive gears, electrical failures, or ice blockage preventing the auger from moving.
Why does the auger keep jamming?
The auger may keep jamming due to accumulation of ice or debris, misalignment of the auger blades, or wear and tear on the auger mechanism causing it to function improperly.
Why won’t my post-hole auger turn?
A post-hole auger might not turn due to dull or damaged blades, engine failure, gearbox issues, or obstructions in the soil like rocks or roots preventing the auger from rotating.