Water leaking from LG refrigerator door puzzled me, so I researched.
Discovering common culprits was enlightening.
Stay tuned for easy fixes and maintenance tips that keep your kitchen dry.
Common Causes of Water Leaking from an LG Refrigerator Door
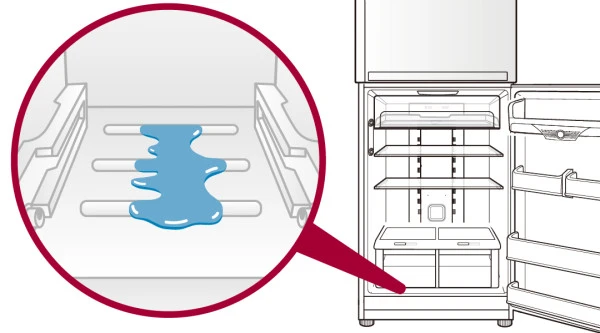
Have you ever walked into your kitchen only to find a mysterious puddle of water near your refrigerator? If you’re nodding along, you’re not alone.
I’ve been there, and so have many others.
Today, I want to share with you the common causes of water leaking from an LG refrigerator door and how you can tackle this slippery issue head-on.
Why Your LG Refrigerator Might Be Leaking
First off, it’s important to understand that a leaking refrigerator is not just a nuisance; it’s a cry for help from your appliance.
Let’s dive into the reasons why your LG fridge might be turning your kitchen floor into a mini-pool.
1. Water Line Woes

The water line is like the refrigerator’s lifeline, supplying water to your ice maker and water dispenser.
If this line is not connected properly or is damaged, leaks are almost inevitable.
Imagine my surprise when I pulled my fridge away from the wall, only to discover a water line looking more like a garden hose left on overnight.
Properly connecting and inspecting this line for damage can save you from unexpected puddles.
2. The Ice Maker Conundrum
The ice maker is a common culprit behind door leaks.
Whether it’s a crack in the system, misaligned components, or a faulty water filter, these issues can lead to water finding its way out of the fridge rather than into your glass.
Checking the ice maker bin’s position and ensuring the water filter is correctly installed and undamaged are simple steps that can prevent a leaky disaster.
3. Defrost Drain Disasters
A clogged or frozen defrost drain is like a traffic jam during rush hour; nothing good comes out of it.
Water that should normally exit the refrigerator gets backed up, leading to leaks.
I learned the hard way that keeping an eye on the defrost drain and ensuring it’s clear of ice and debris can save a lot of mopping up later.
4. Gasket Grief
The door gasket is the refrigerator’s seal against the outside world. A damaged or dirty gasket can allow warm air inside, leading to condensation and, you guessed it, leaks.
Regularly cleaning the gasket and inspecting it for wear and tear can help maintain the fortress against leaks.
How to Troubleshoot and Fix a Leak
Dealing with a leaky LG refrigerator can feel like a daunting task, but fear not! I’m here to guide you through troubleshooting and fixing that leak, step by step.
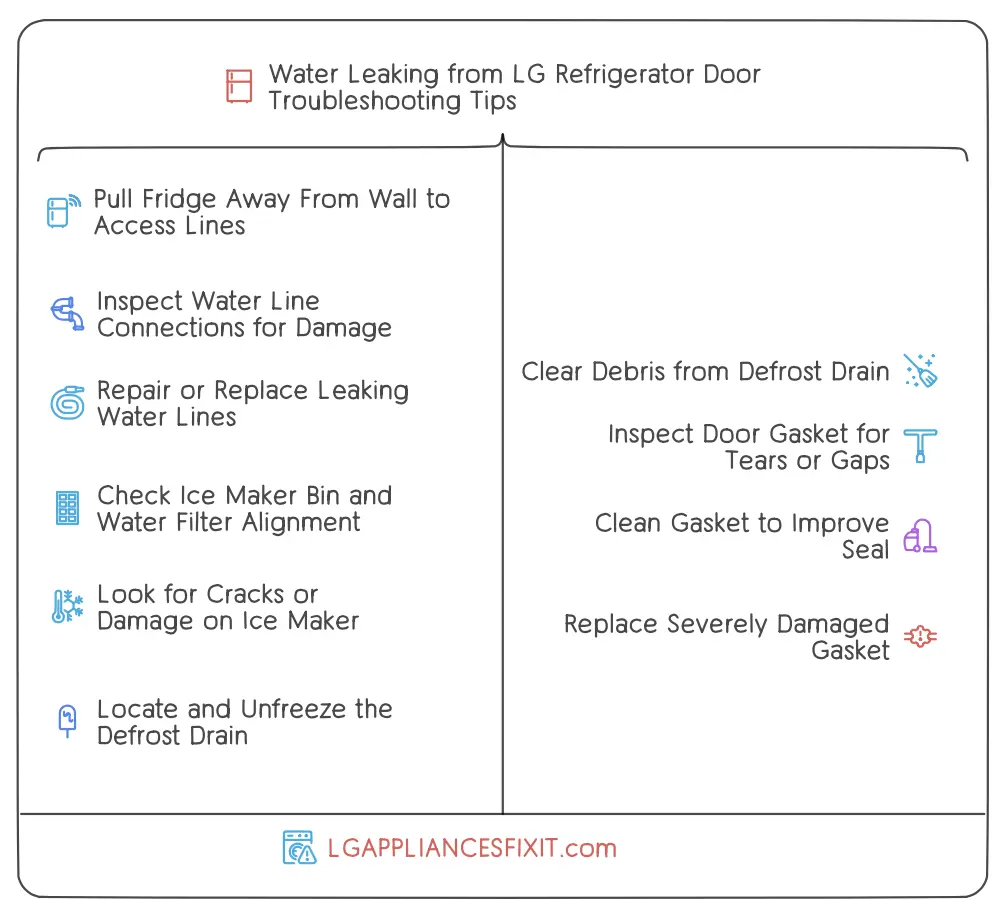
Let’s roll up our sleeves and turn those puddles into a thing of the past.
Step 1: Pull Fridge Away From Wall to Access Lines
Carefully move your refrigerator forward to access the water lines at the back. You’ll want to have enough room to work comfortably, so take it slow and steady.
Step 2: Inspect Water Line Connections for Damage
Look for any signs of moisture or damage along the water lines. Leaks often occur where the line connects to the fridge or the house supply. If you spot any wet spots, you’ve likely found your leak source.
Step 3: Repair or Replace Leaking Water Lines
If the line is damaged, you’ll need to replace it. Hardware stores offer replacement lines that you can easily install. For loose connections, simply tighten them with a wrench but be careful not to over-tighten and cause more damage.
Step 4: Check Ice Maker Bin and Water Filter Alignment
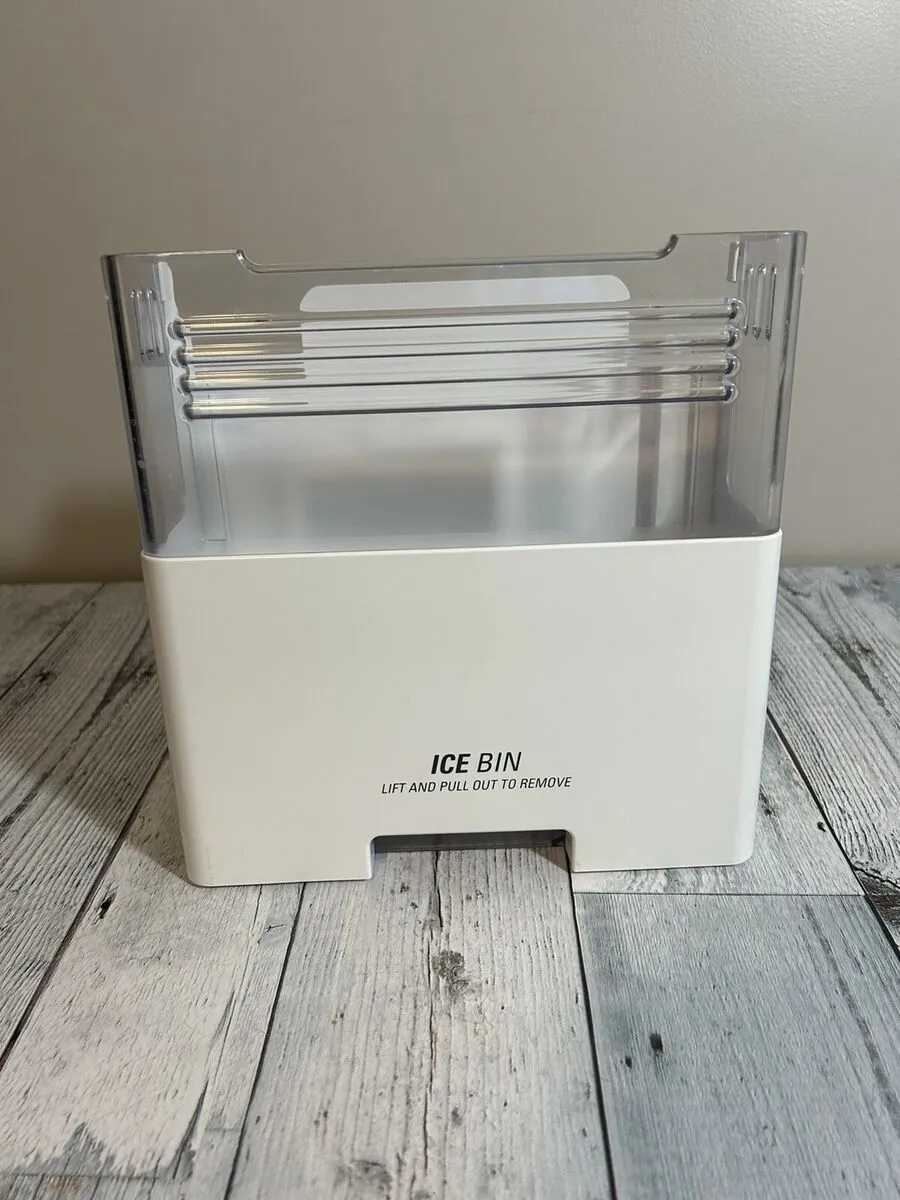
Ensure that the ice maker bin is properly aligned and that the water filter is correctly installed. A misaligned bin or a faulty filter can cause water to leak out of the designated pathways.
Step 5: Look for Cracks or Damage on Ice Maker
Look for any visible signs of wear or damage on the ice maker itself. Cracks or misalignments can lead to leaks. If you find damage, you may need to replace the affected component.
Step 6: Locate and Unfreeze Defrost Drain
Find the defrost drain, usually located at the back of the freezer compartment. You might need to remove some drawers or shelves to get to it.
Step 7: Unclog Defrost Drain with Pipe Cleaner
If the drain is frozen, use a hairdryer (on a low setting) or pour a little hot water over it to melt the ice. Be careful not to use too much water or heat, as you don’t want to damage your fridge.
Step 8: Clear the Drain
After thawing, use a small, flexible tool (like a pipe cleaner or turkey baster) to clear any debris from the drain. Flush it with a bit of water to ensure it’s clear.
Step 9: Inspect Door Gasket for Tears or Gaps
Examine the door gasket for any tears, twists, or areas where it might not be sealing properly. A damaged gasket can let warm air in, causing condensation and leaks.
Step 10: Clean Gasket to Ensure Proper Seal
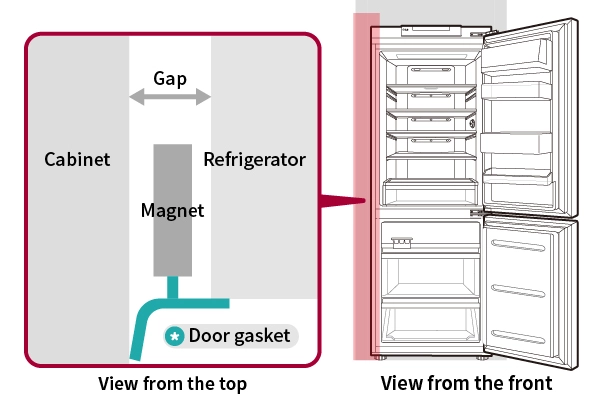
Sometimes, the gasket just needs a good cleaning. Use a mild detergent and warm water to clean the gasket and the area it seals against on the fridge.
Step 11: Replace Severely Damaged Gaskets
If the gasket is damaged beyond repair, it’s time for a replacement. Gaskets can usually be ordered directly from the manufacturer or a reliable appliance parts store. Follow the installation instructions carefully to ensure a proper seal.
Preventive Maintenance Tips
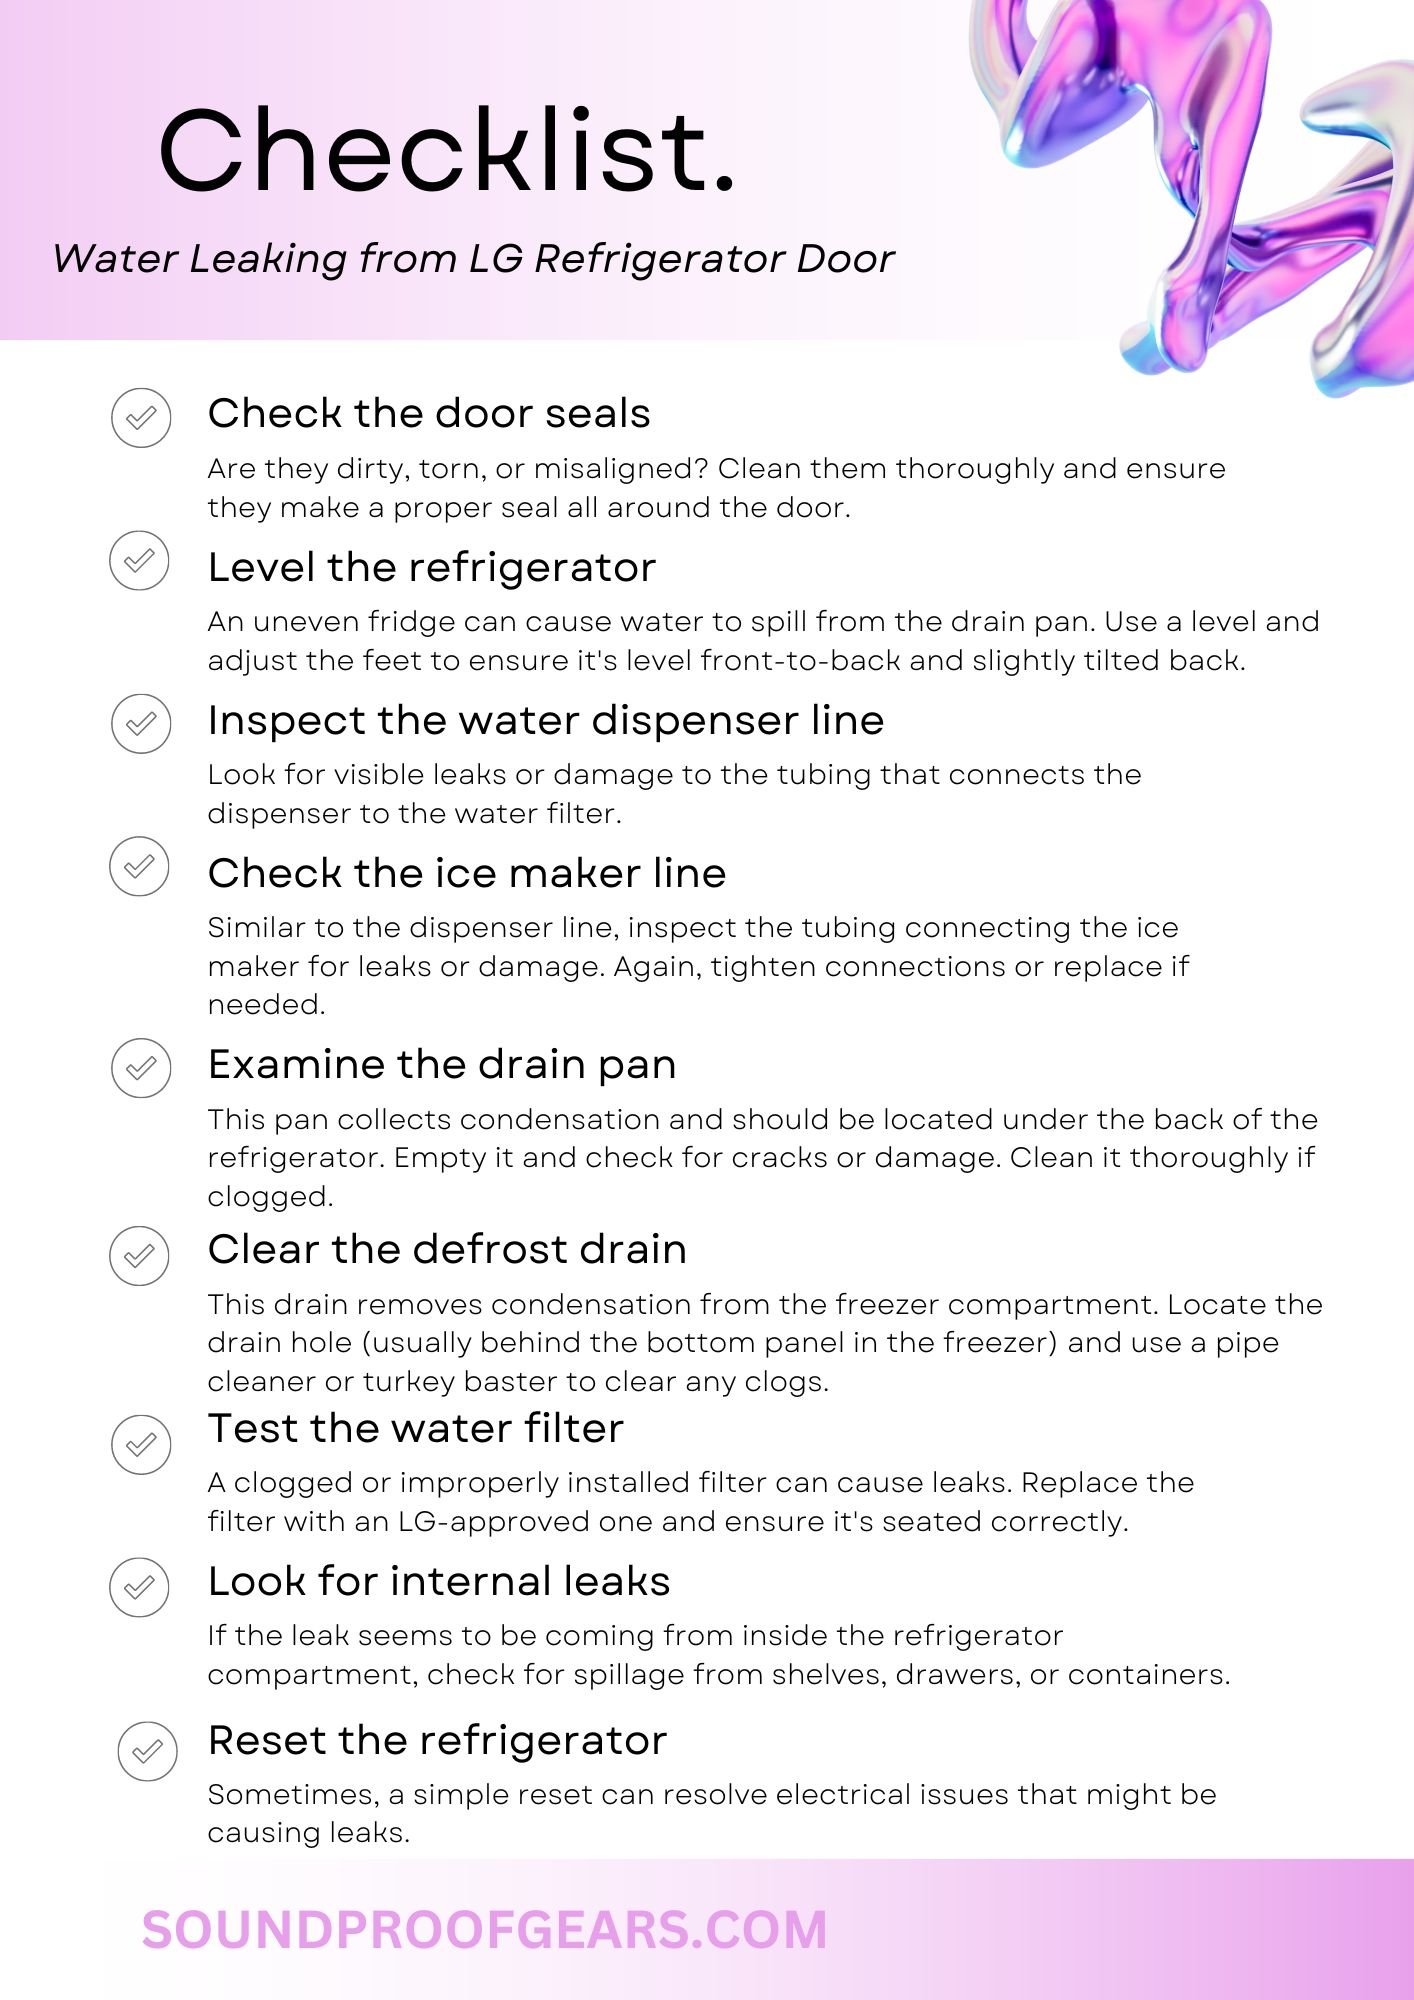
Ah, preventive maintenance – the hero that saves the day before there’s even a hint of trouble.
Let’s dive into how you can keep your LG refrigerator running smoothly, avoiding those pesky leaks before they start.
Regularly Check and Clean the Water Lines

First things first, make sure to regularly inspect your refrigerator’s water lines. Look for any signs of wear, tear, or kinks.
A simple visual inspection every few months can go a long way.
If you notice any damage, it might be time for a replacement.
Change Your Water Filter as Recommended
I cannot stress this enough – change your water filter according to the manufacturer’s recommendations, usually every 6 months.
A clogged or old filter can not only affect the taste of your water and ice but can also lead to water pressure issues that might cause leaks.
Ensure Proper Refrigerator Leveling
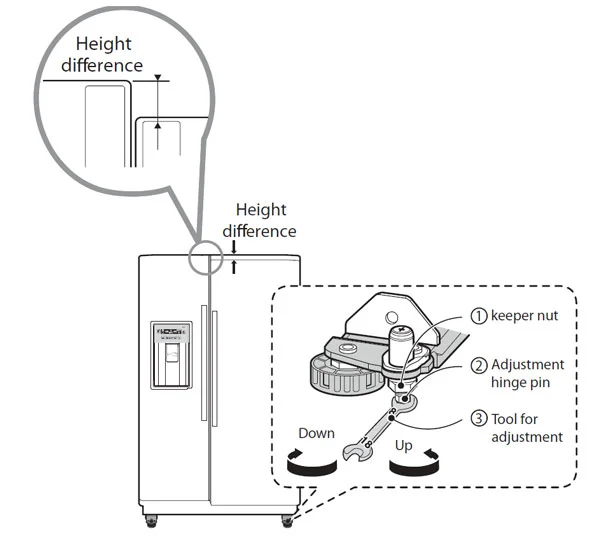
Believe it or not, a refrigerator that’s not properly leveled can cause leaking issues.
The appliance should be slightly higher at the front than at the back to facilitate proper drainage and optimal operation of the cooling mechanism.
Use a leveling tool to check and adjust the legs of your fridge as needed.
Keep the Defrost Drain Clear
The defrost drain can be a sneaky source of leaks if it becomes clogged with debris or ice.
A good practice is to flush the defrost drain with hot water a couple of times a year to keep it clear.
This simple action can prevent water from backing up and finding its way onto your kitchen floor.
Inspect and Maintain the Door Gasket
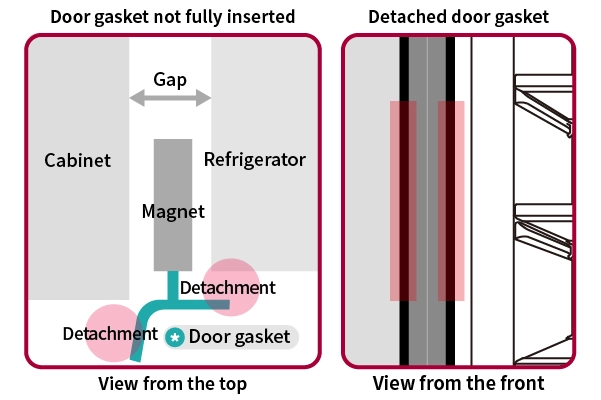
The door gasket seals the cool air inside your fridge.
If it’s not doing its job, not only can this lead to leaks, but it can also make your fridge work harder than it needs to, increasing your energy bills.
Clean the gasket regularly with soapy water and inspect it for any damage. If it’s loose or torn, replace it to maintain an airtight seal.
Monitor the Fridge’s Internal Temperature
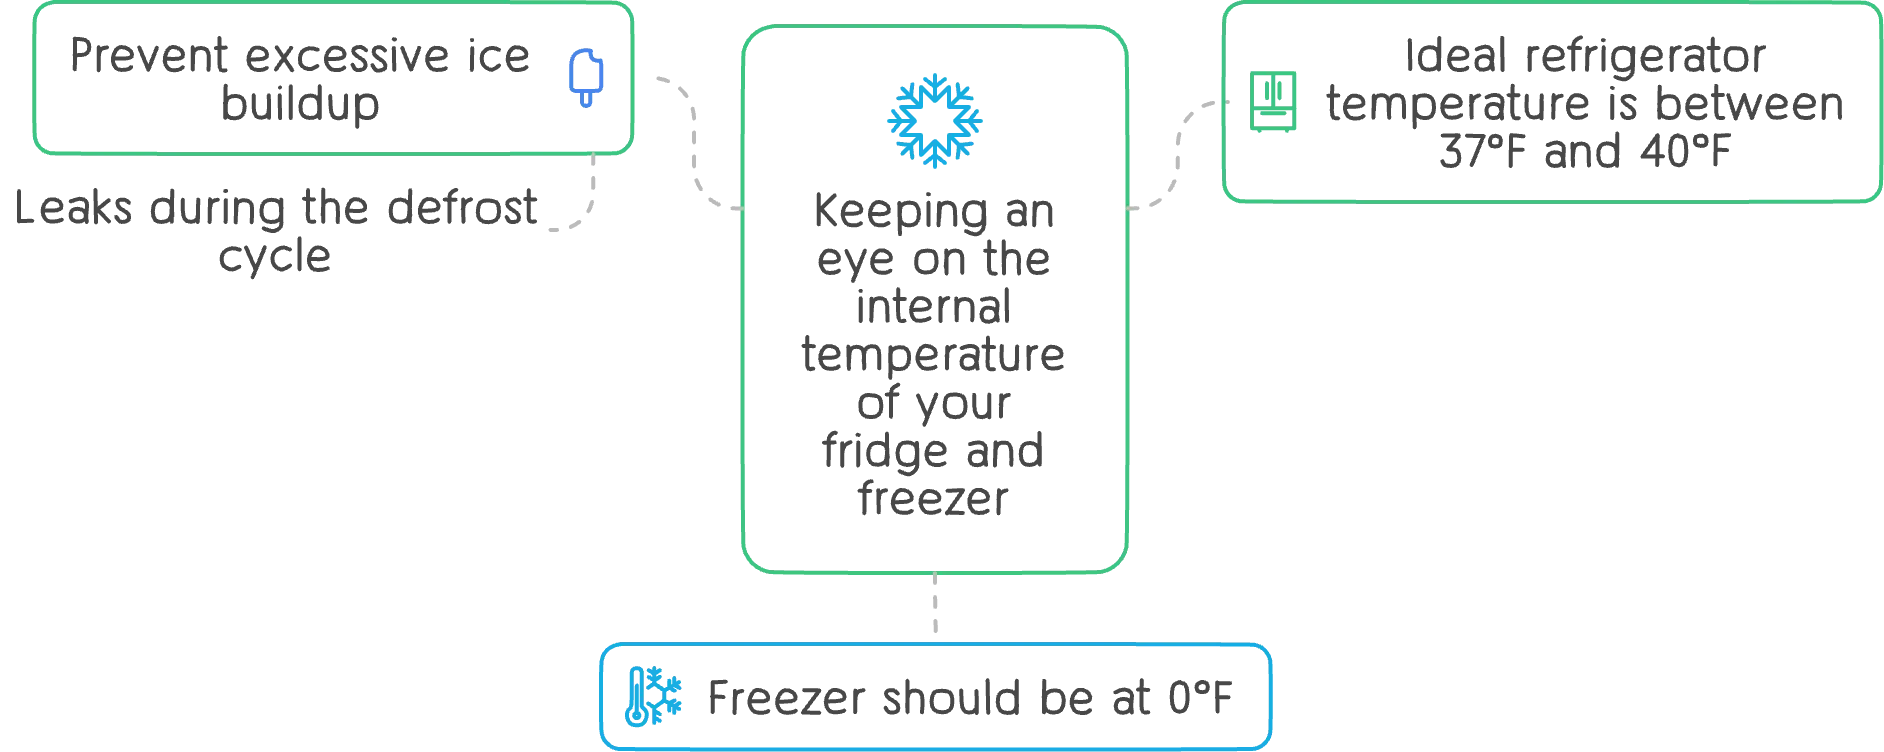
Keeping an eye on the internal temperature of your fridge and freezer can help prevent excessive ice buildup, which might lead to leaks during the defrost cycle.
The ideal refrigerator temperature is between 37°F and 40°F, and the freezer should be at 0°F.
Be Mindful of How You Store Food and Containers

a simple but effective tip – be mindful of how you store liquid-containing items in your fridge.
Make sure containers are sealed properly and not prone to tipping over.
A small spill can easily be mistaken for a leak and cause unnecessary panic.
Conclusion
Water leaking from an LG refrigerator door sparked my curiosity, so I researched extensively.
Turns out, prevention is key: regular checks and maintenance can save the day.
From ensuring water lines are intact to changing filters on time, small actions make a big difference.
I found that keeping everything level and the defrost drain clear are also crucial steps.
These insights not only keep your kitchen dry but also make your fridge more efficient.
