I’ve researched the ins and outs of “How to Remove Doors From LG Refrigerator,” making this daunting task approachable for anyone.
Whether you’re moving, deep cleaning, or servicing your fridge, knowing how to safely take off those doors can save you time and hassle.
The process is simpler than you might think, and I’m here to guide you through each step.
Armed with some basic tools and a bit of patience, you’ll be able to handle this project with confidence.
Our journey begins with the right tools and a detailed guide to ensure we handle our appliance with care, avoiding any damage or scratches.
Let’s dive into the specifics, where every step is crucial for a successful door removal.
Key Takeaways:
- Gather tools: screwdrivers, wrenches, gloves, and a towel
- Unplug fridge and empty contents
- Turn off water valve and disconnect water line
- Remove hinge covers and disconnect electrical connections
- Lift doors carefully off hinges
- For freezer: remove basket, unscrew drawer assembly, lift door
Preparing for Door Removal
Before we dive into the nitty-gritty of removing the doors from your LG Refrigerator, let’s gather our tools and take some necessary safety precautions. It’s like preparing for a culinary masterpiece; every utensil and safety measure is crucial to the outcome.
Tools and Materials Needed
Imagine you’re an artist, and your LG refrigerator is your canvas. Here’s what you’ll need in your toolkit:
- Screwdrivers: A Phillips head and a flat-head, for those tiny dancers known as screws.
- Wrenches: For any stubborn nuts and bolts that hold the door in place.
- Protective Gloves: To keep your hands safe and clean. Think of them as your kitchen mittens for the cold.
- Towel or Blanket: To lay the door on once removed, preventing scratches or damage.
Safety Precautions and Preparation Steps
Now, let’s talk safety and prep, the mise en place of our task:
- Unplug the Refrigerator: Unplugging ensures we’re not playing with electricity.
- Empty the Contents: Remove all items from the door shelves and the refrigerator itself. It’s like clearing the stage before a performance.
- Protect Your Floor: Place a towel or soft cloth on the floor. It’s not just for spills; it’s to protect your floor when you remove the door.
- Secure a Helper: Doors can be heavier than they look. Having someone to assist you is like having a sous chef in the kitchen.
- Turn water valve OFF that connects to the refrigerator water line.
- Dispense the remaining water left in the water line.
How to Remove Doors from Your LG Refrigerator?
For the Left Door:
Open the left door.
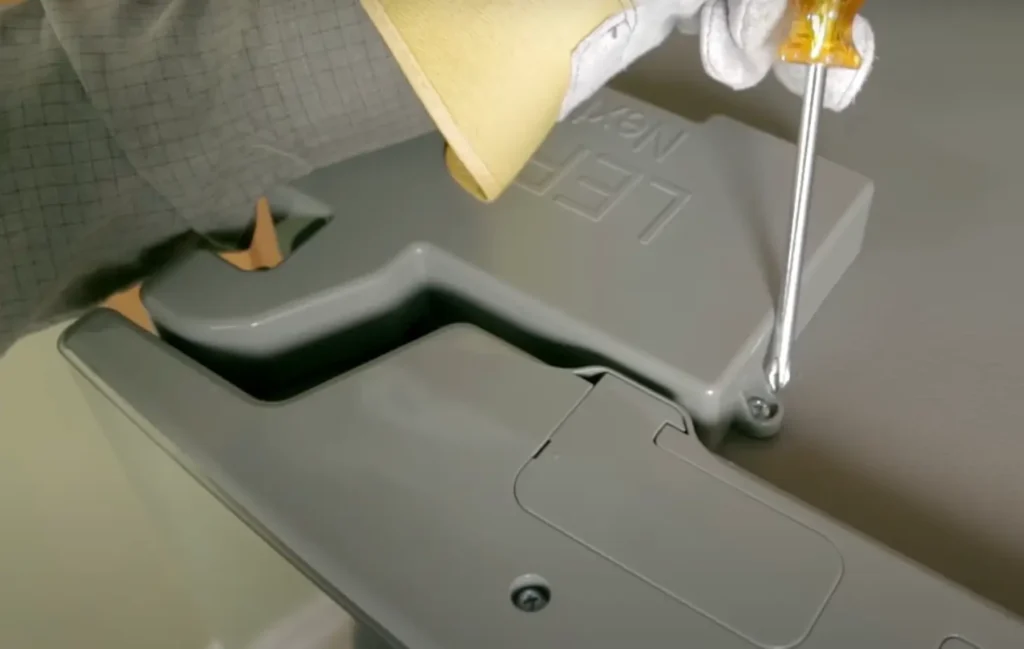
Use the Phillips screwdriver to remove the screw securing the hinge cover at the top of the door. Lift the cover off carefully.
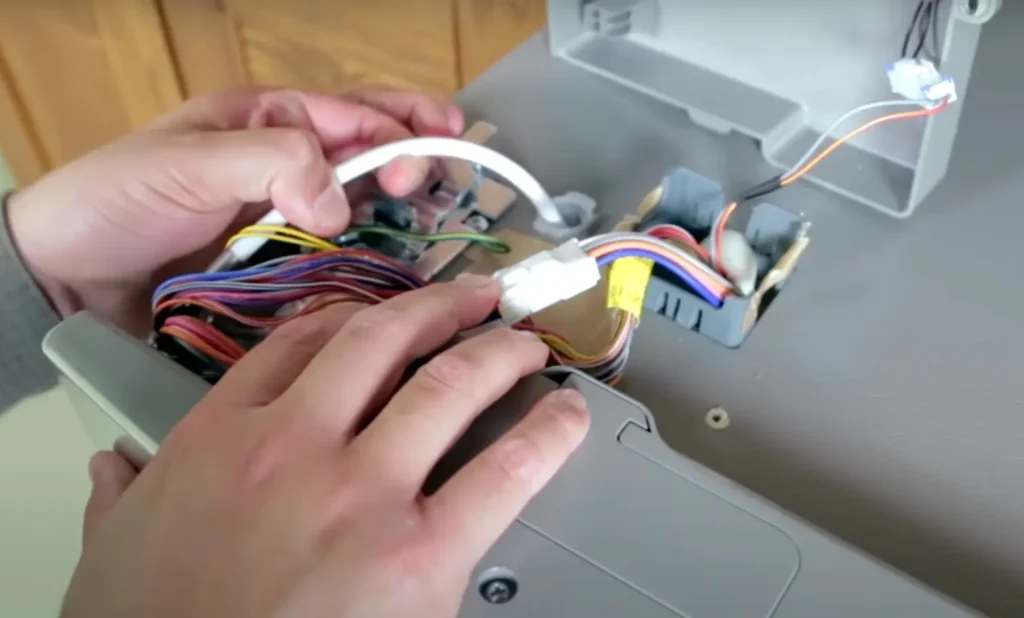
Press the release ring on the water tube fitting and pull the tube out. To remove this water line you can pull to take it out.

Remove any screws securing the wire harness and disconnect the wires. Disconnect these two main electrical connections through pull from both sides. For large wide connectors squeeze tabs on each and pull apart.
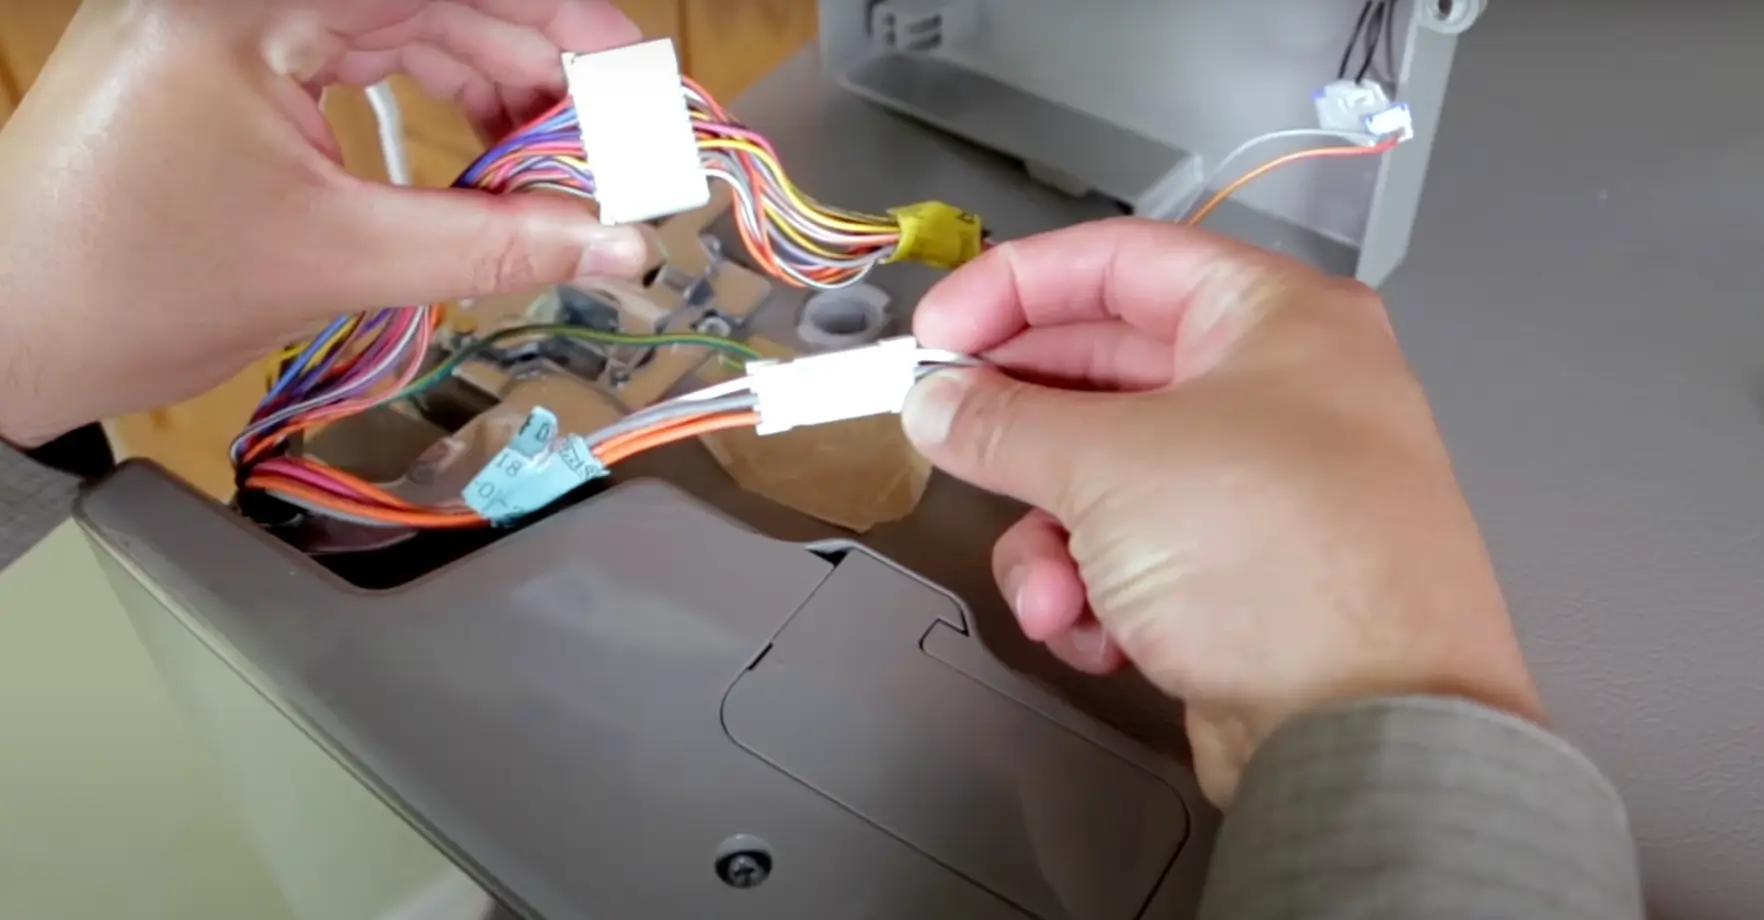
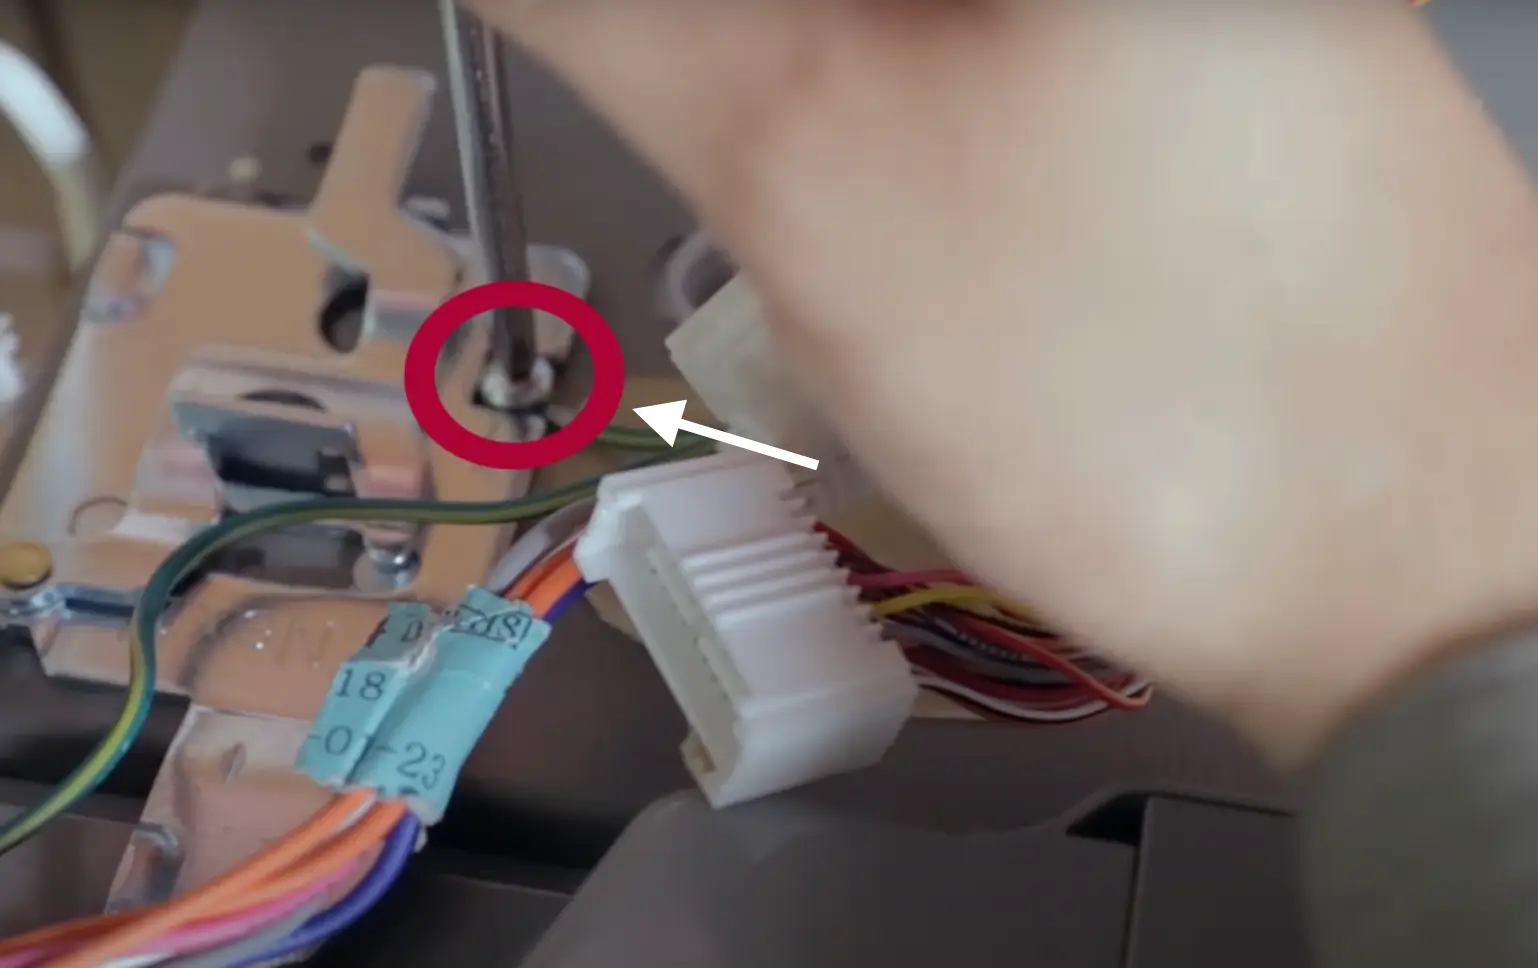
Rotate the hinge lever counterclockwise to release it.
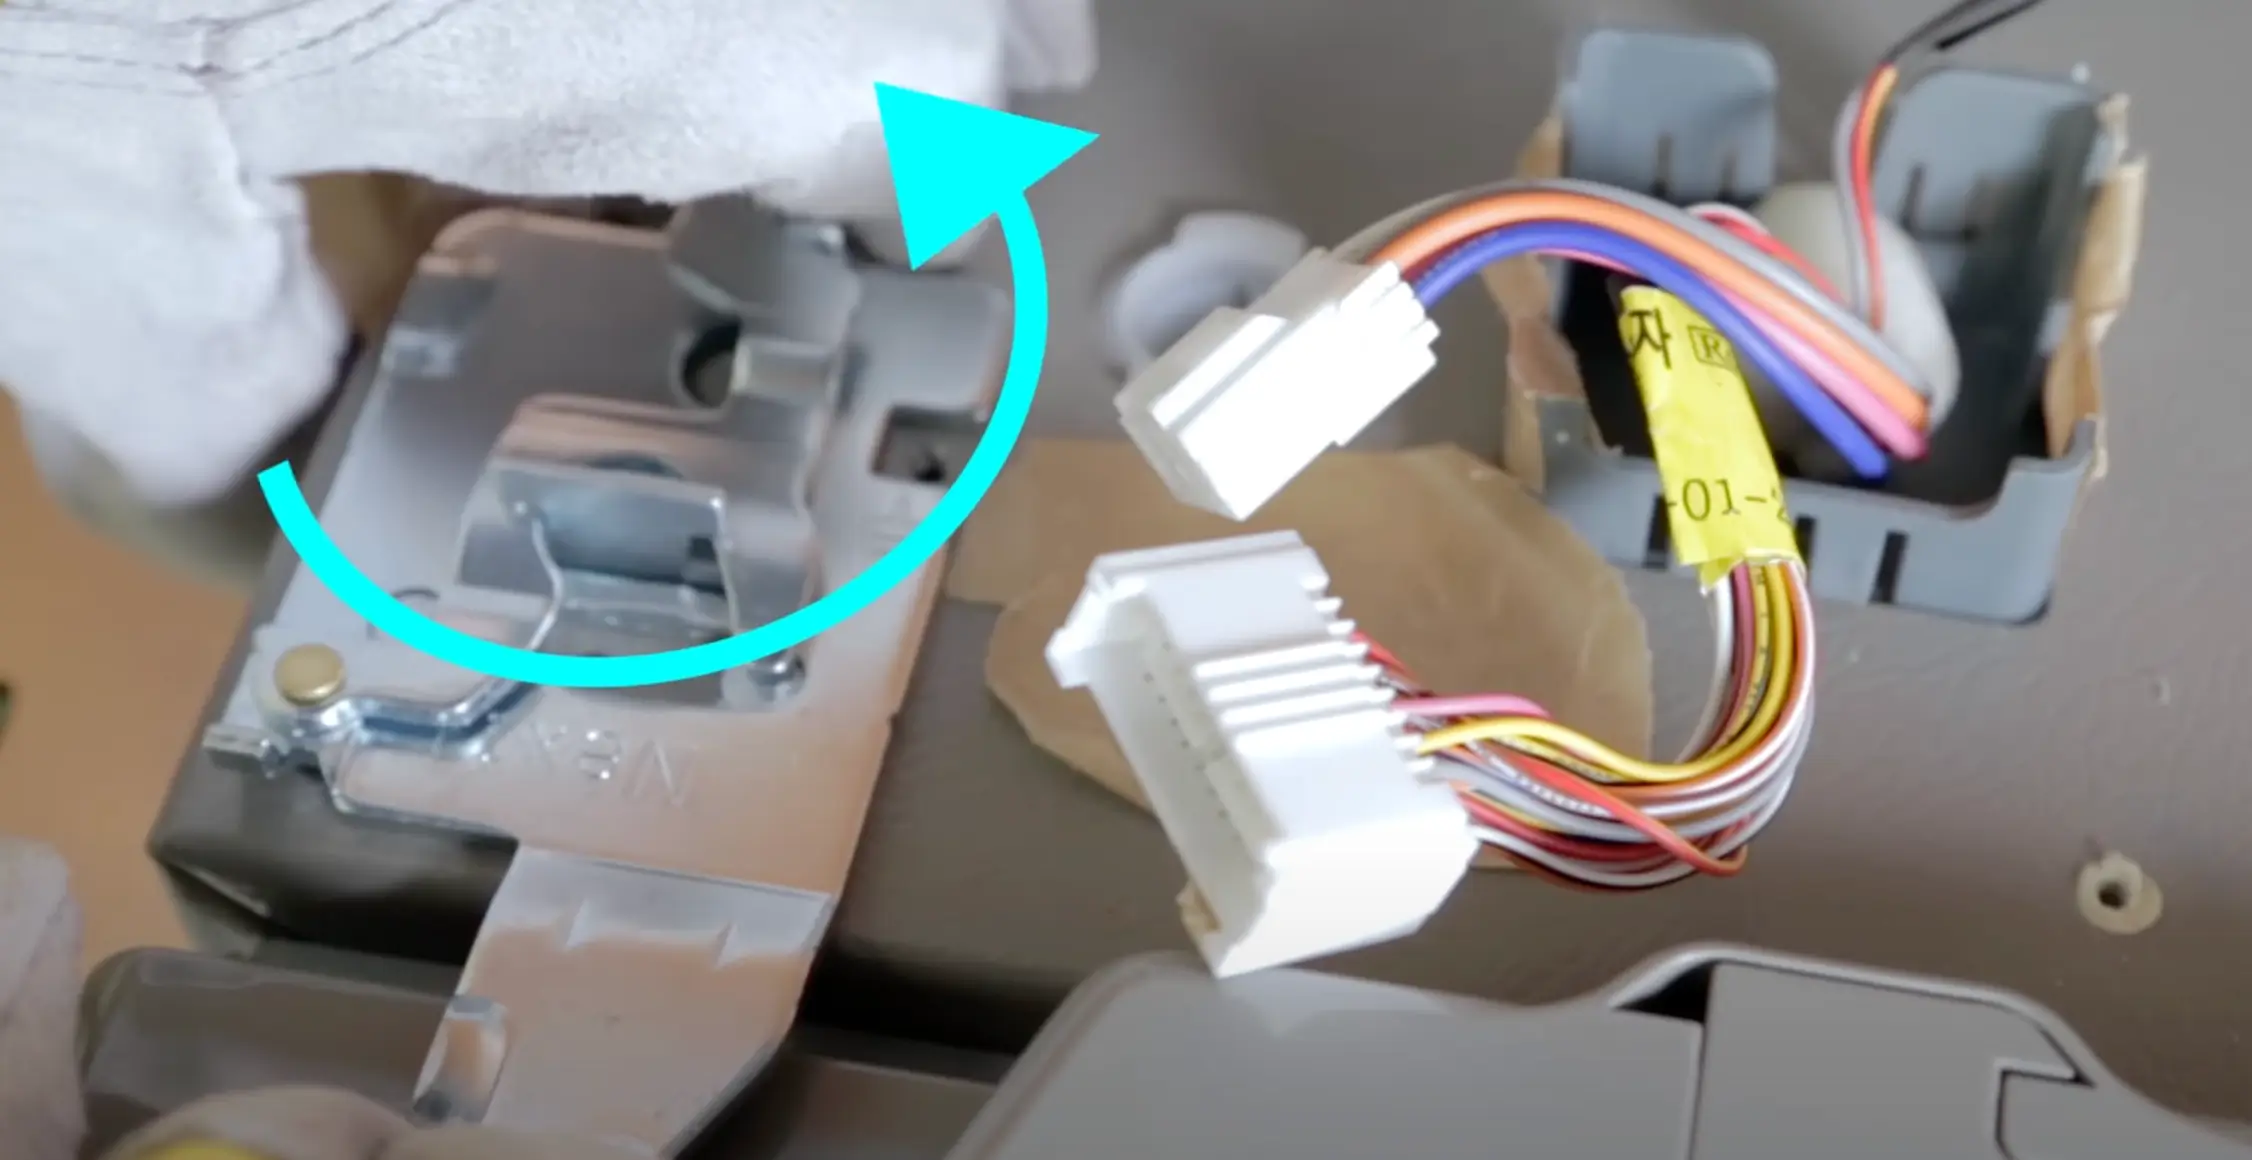
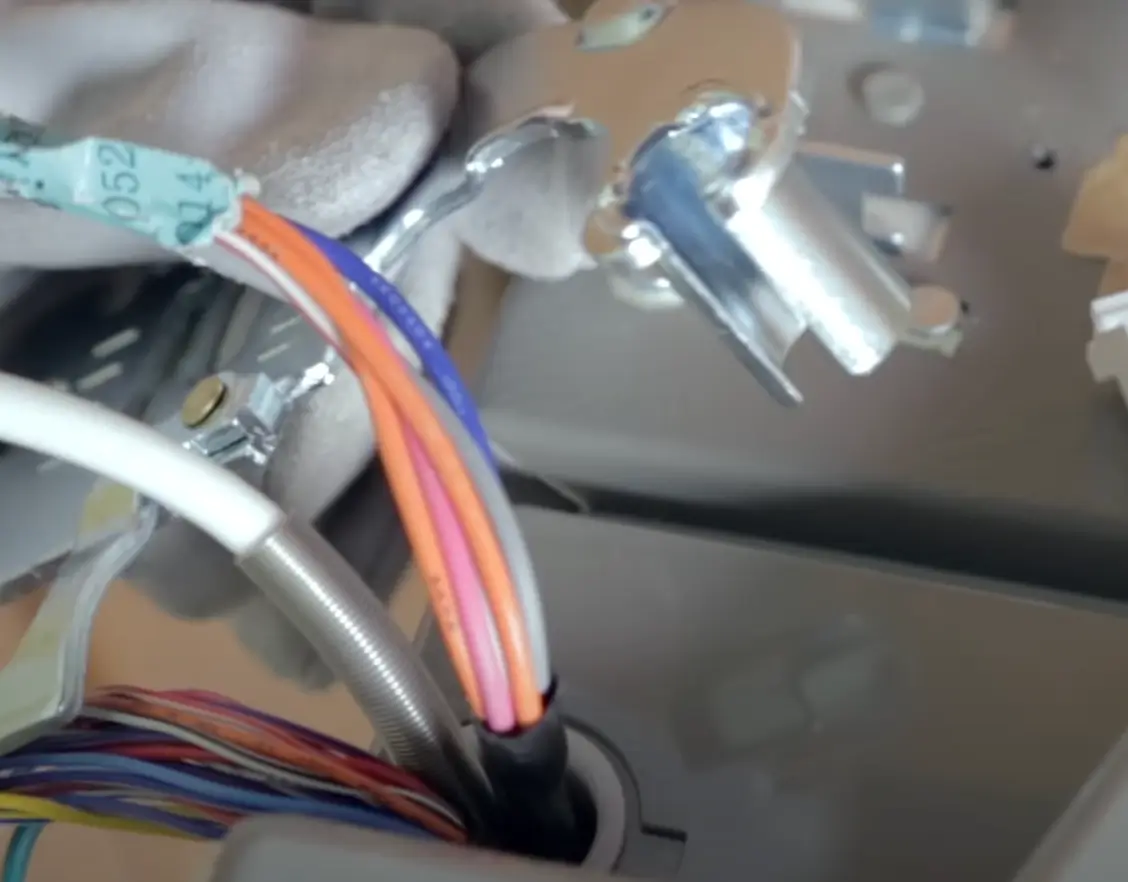
Carefully lift the door from the bottom hinge pin and set it aside on a soft surface.
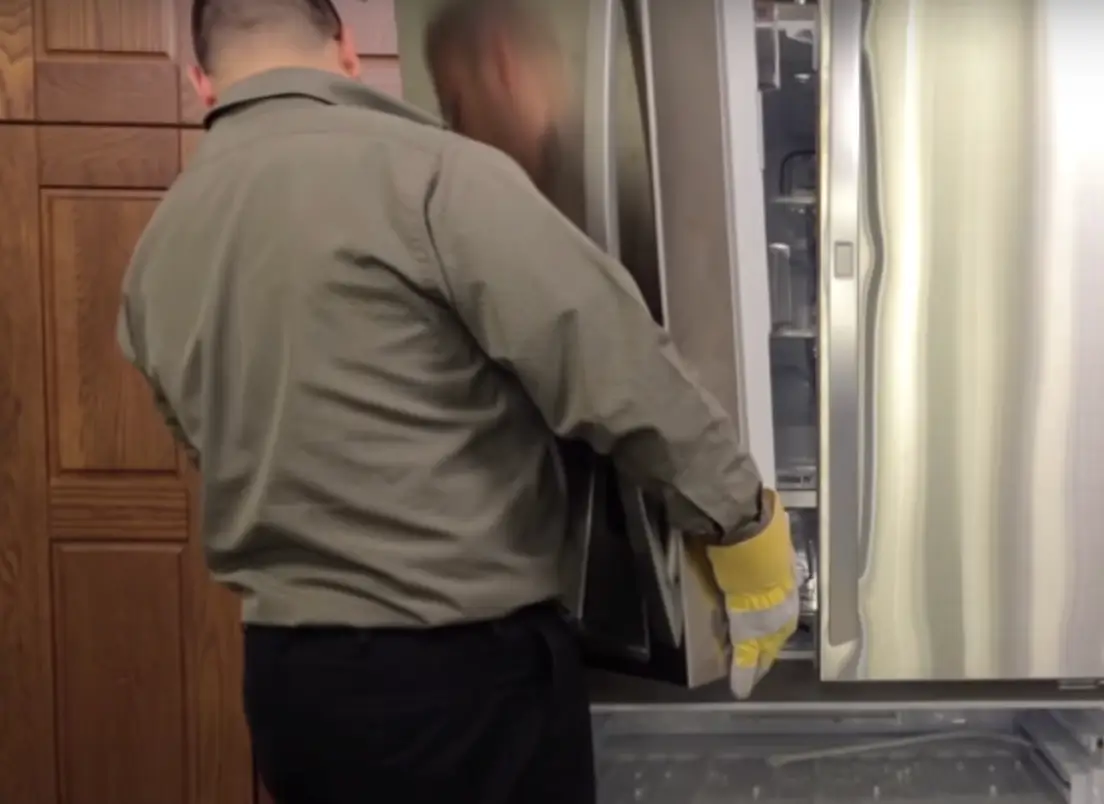
For the Right Door:
Open the right door and repeat the process of removing the hinge cover. Disconnect the wires attached to the hinge cover.
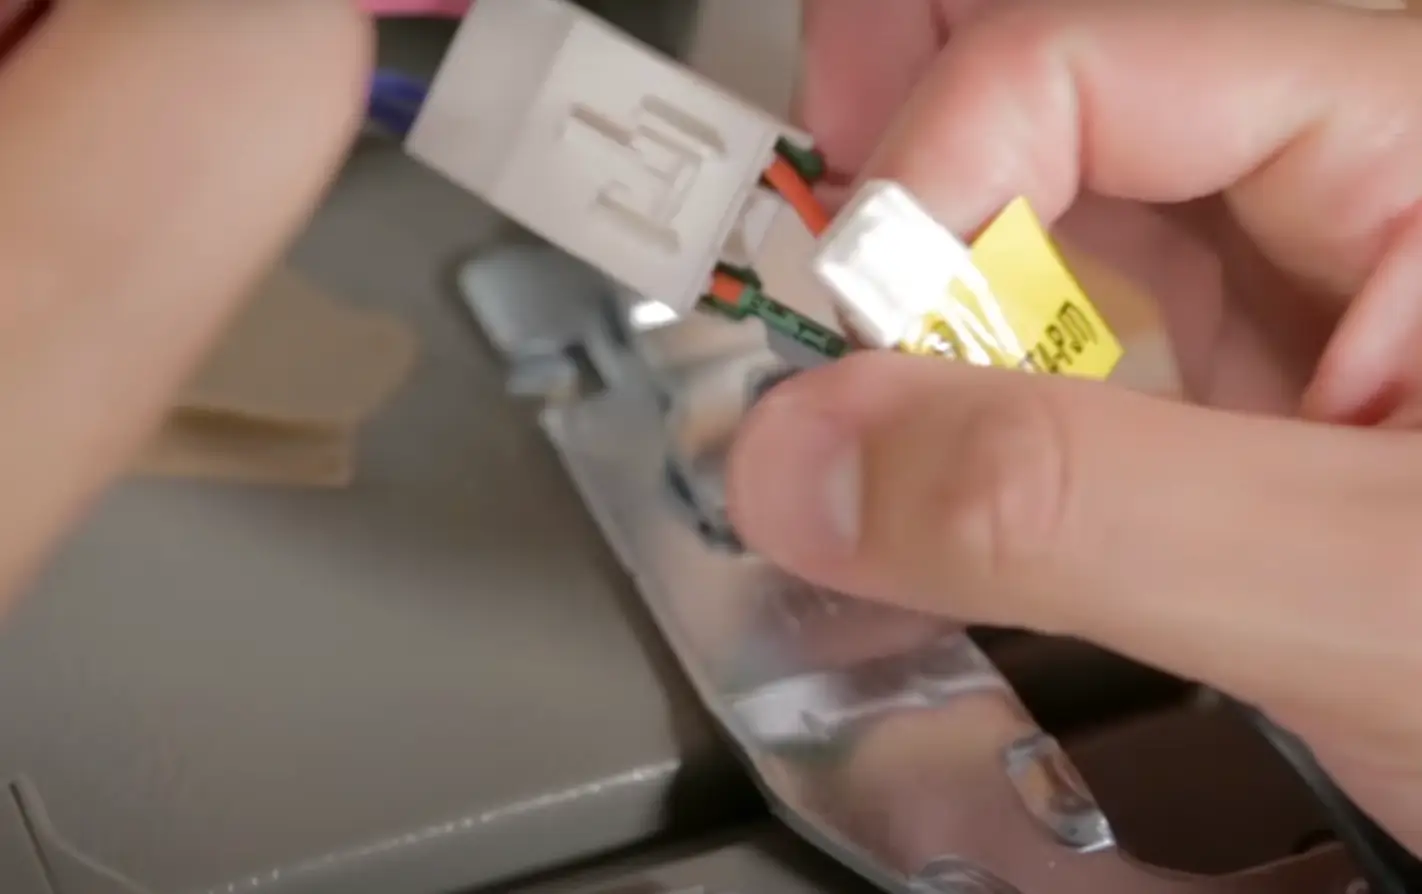
Rotate the hinge lever clockwise to release it.
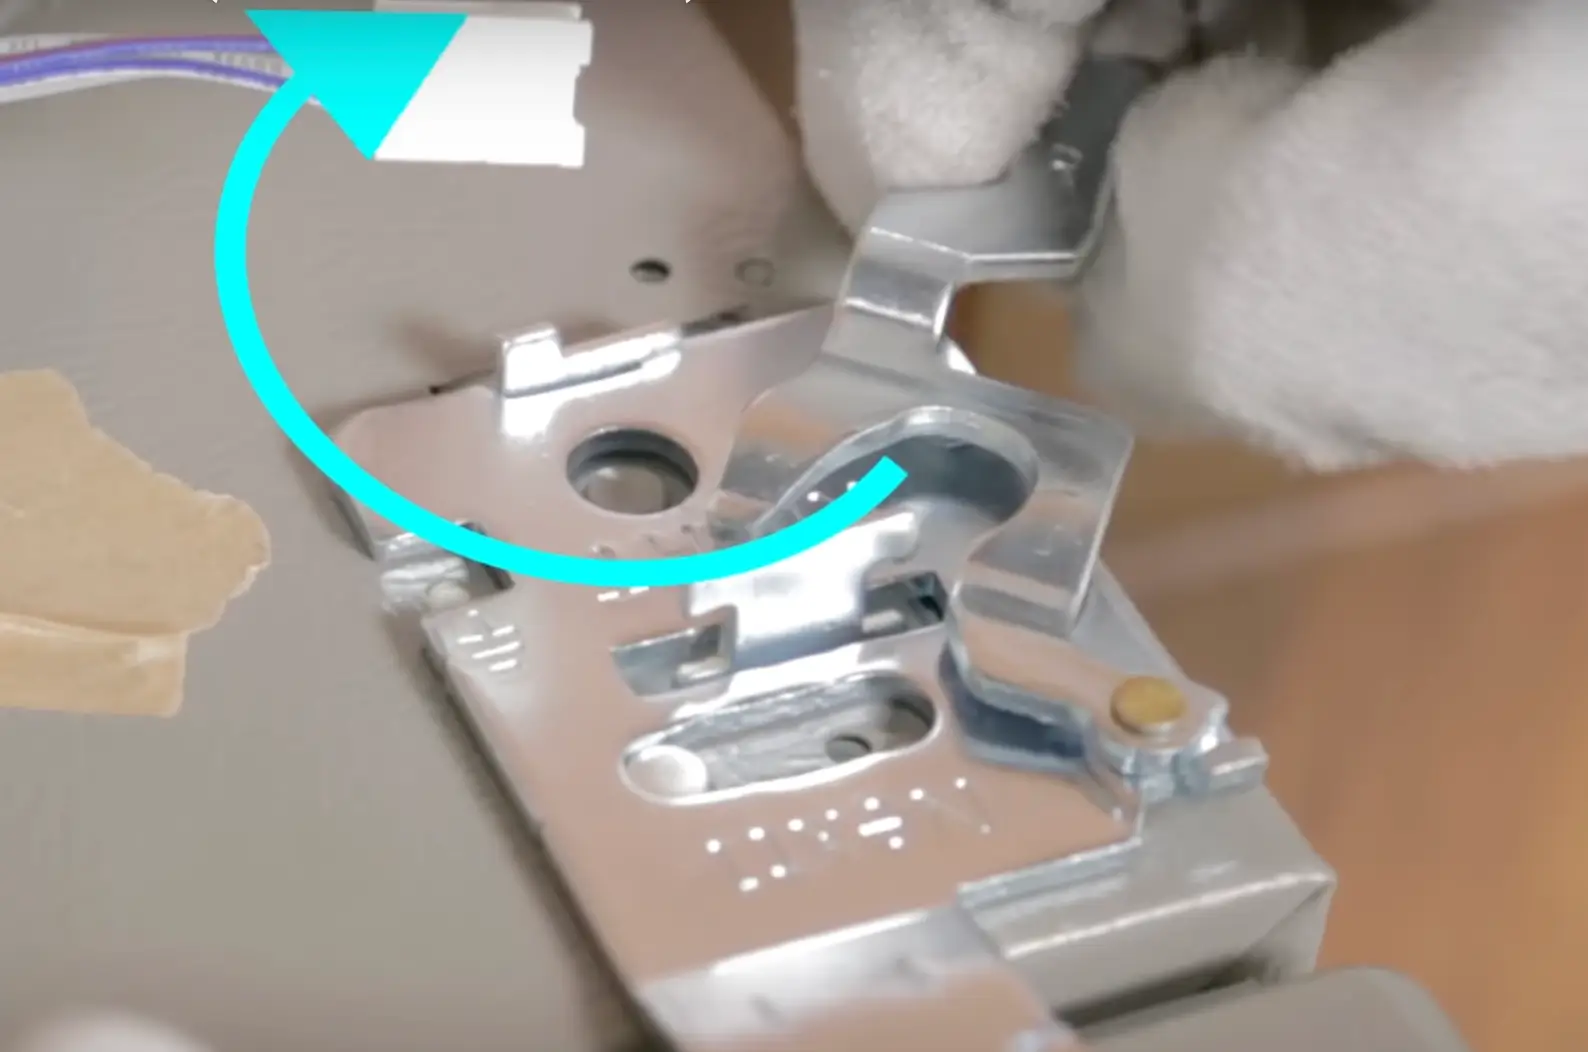
Lift the door OFF the hinge pin and place it on a soft surface. Use both hands and carefully set it aside on a soft protected surface.
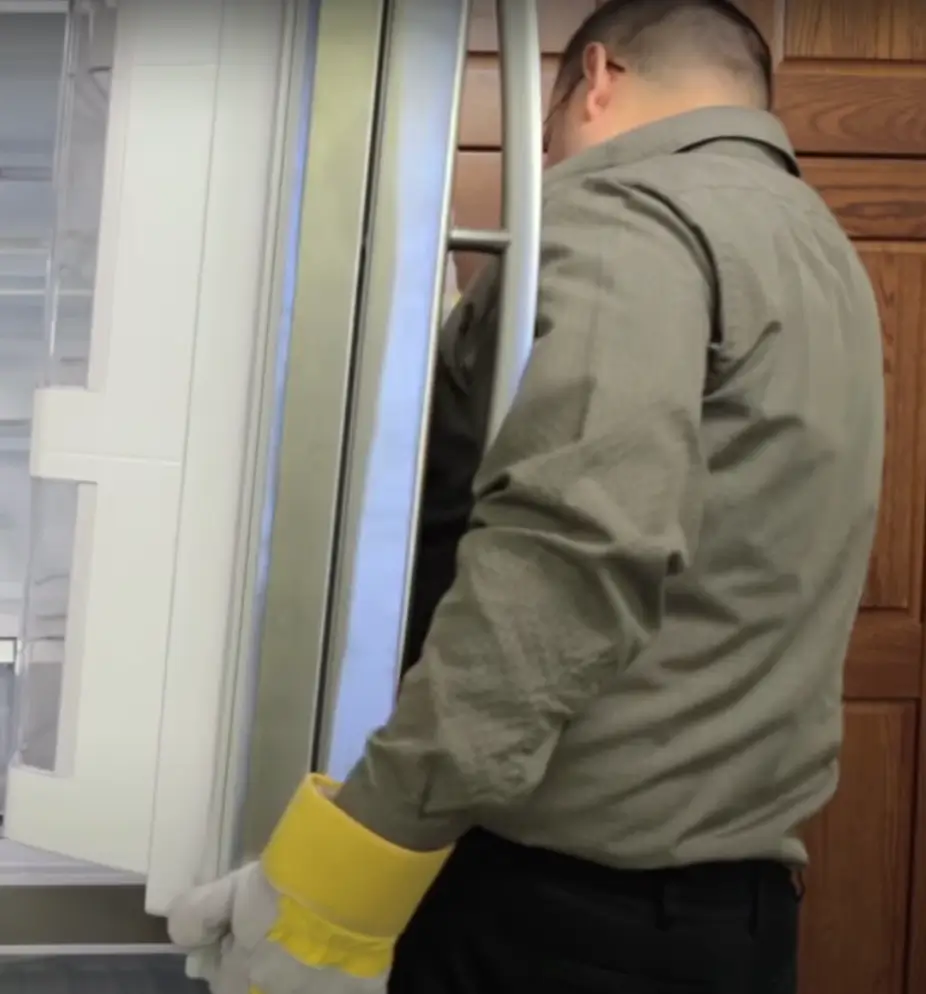
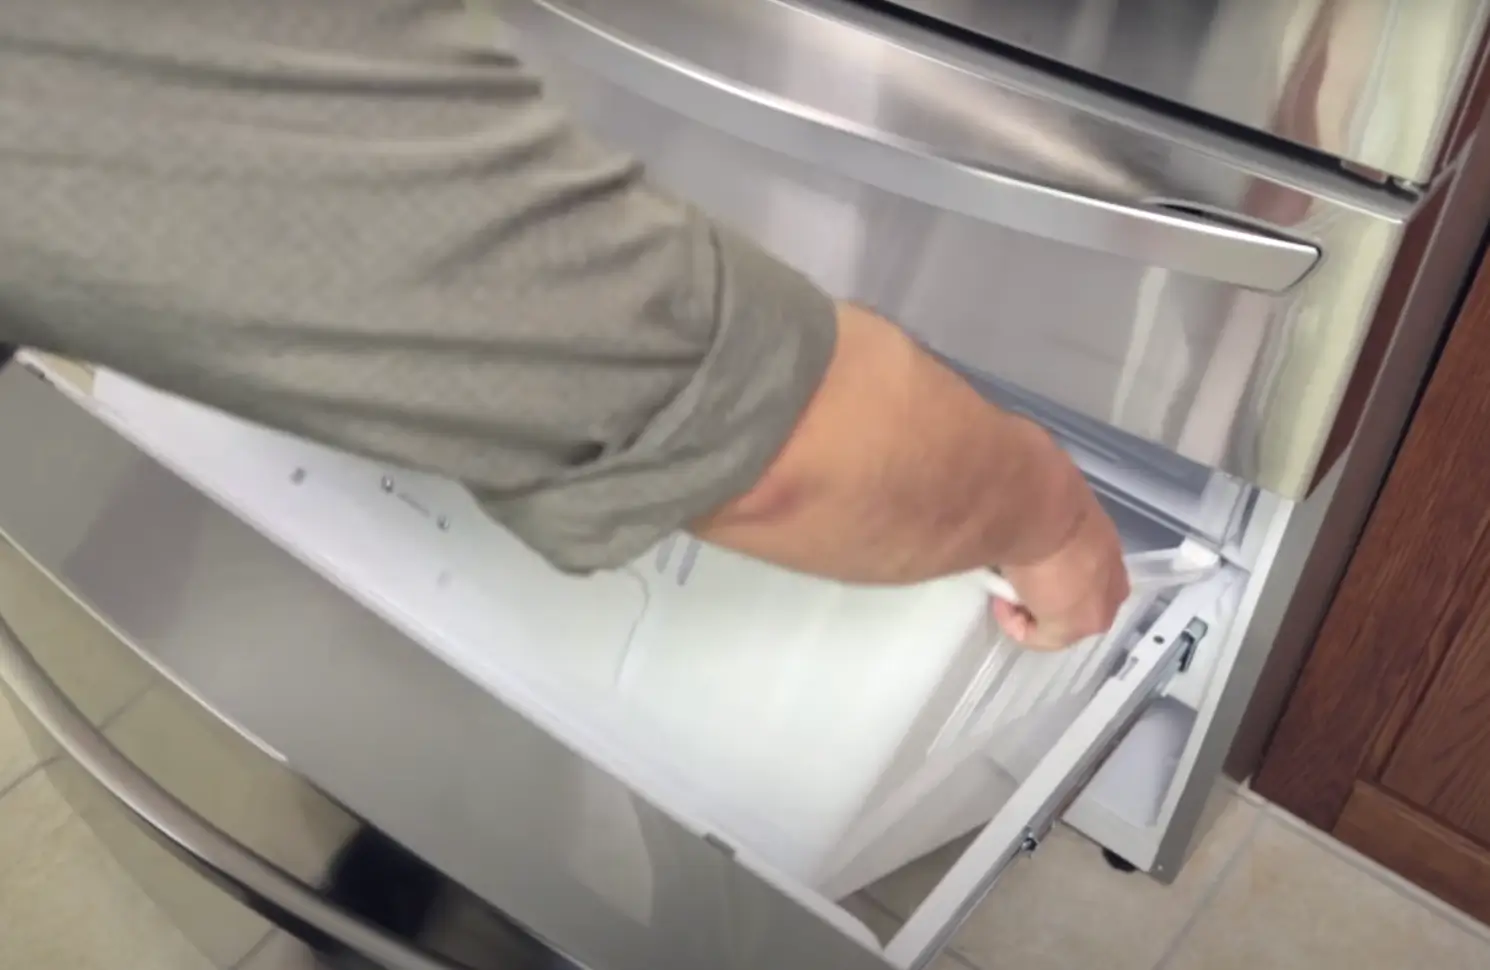
Removing the Freezer Door
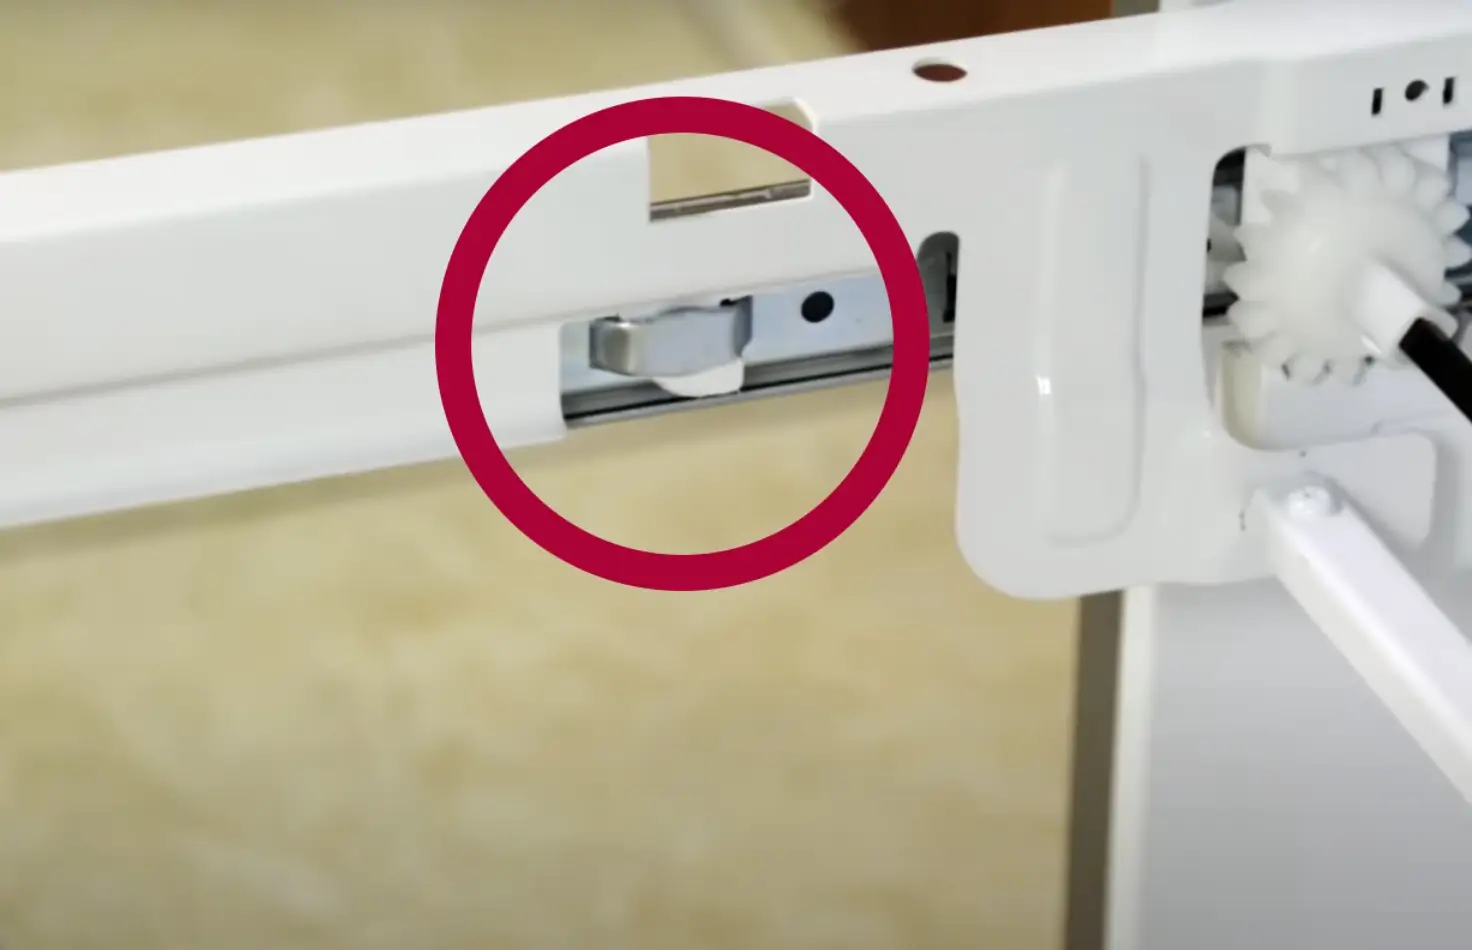
Remove the Lower Basket: Take out the lower basket from freezer.
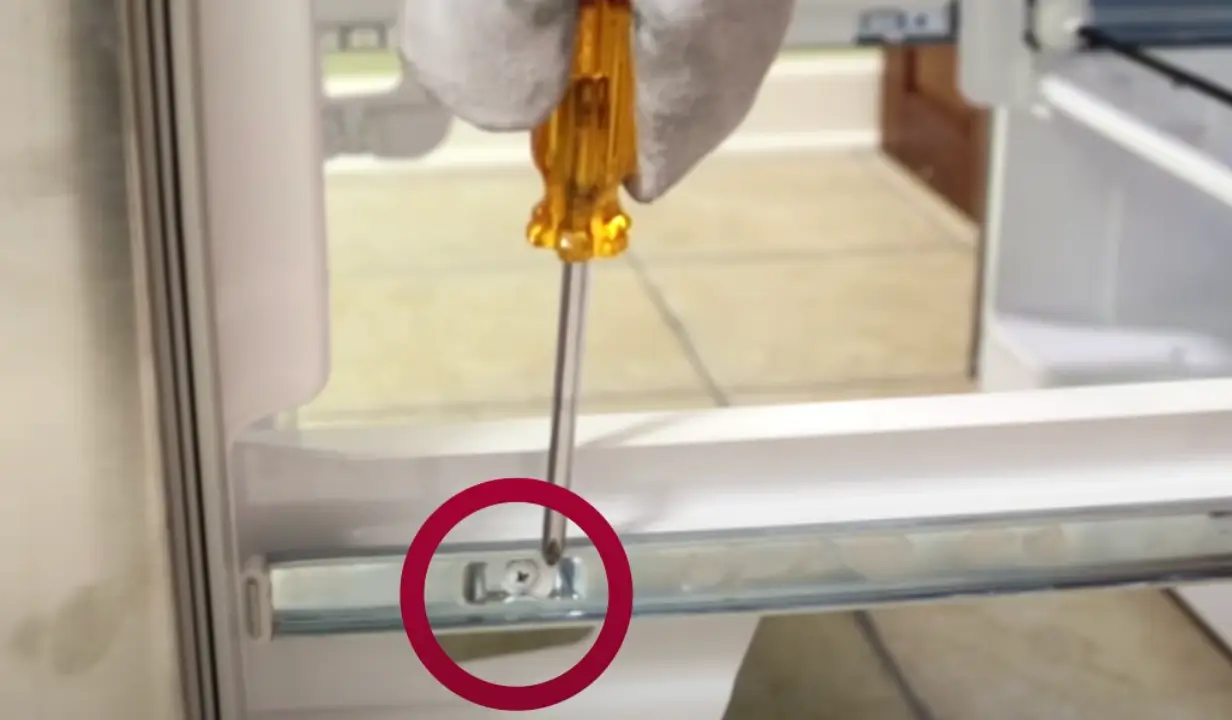
Unscrew the Drawer Assembly: Locate and remove screws holding the drawer assembly to the rail.
Lift the Freezer Door: Hold the sides of the freezer door and lift it up and out from the rails.
Summing…
Removing doors from an LG refrigerator is a manageable task with the right tools and precautions.
The process involves unplugging the fridge, emptying contents, and gathering necessary tools like screwdrivers and wrenches.
Safety measures include protecting the floor and having an assistant. For both the left and right doors, steps include removing hinge covers, disconnecting water lines and electrical connections, and carefully lifting the doors off their hinges.
Freezer door removal requires taking out the lower basket and unscrewing the drawer assembly before lifting the door. This guide aims to simplify the process for anyone needing to remove their LG refrigerator doors.
